Scopes
Scopes are another attachment type you can create for your guns.
They’re also features you can integrate in the gun itself. Think of a weapon like the AUG, which has an integrated scope. Or maybe a sci-fi gun, with a default integrated red dot sight.
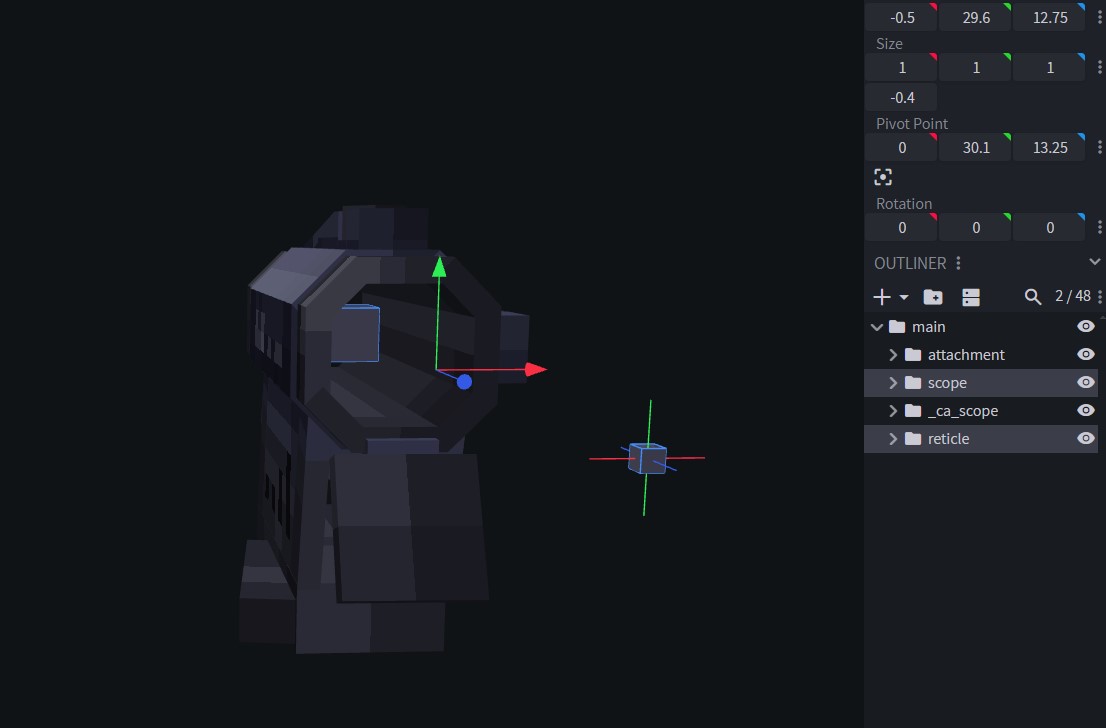
For any gun featuring a red dot sight, a holographic sight, or some more basic reticle-based sight, you need to add in a new bone and cube in Blockbench called reticle.
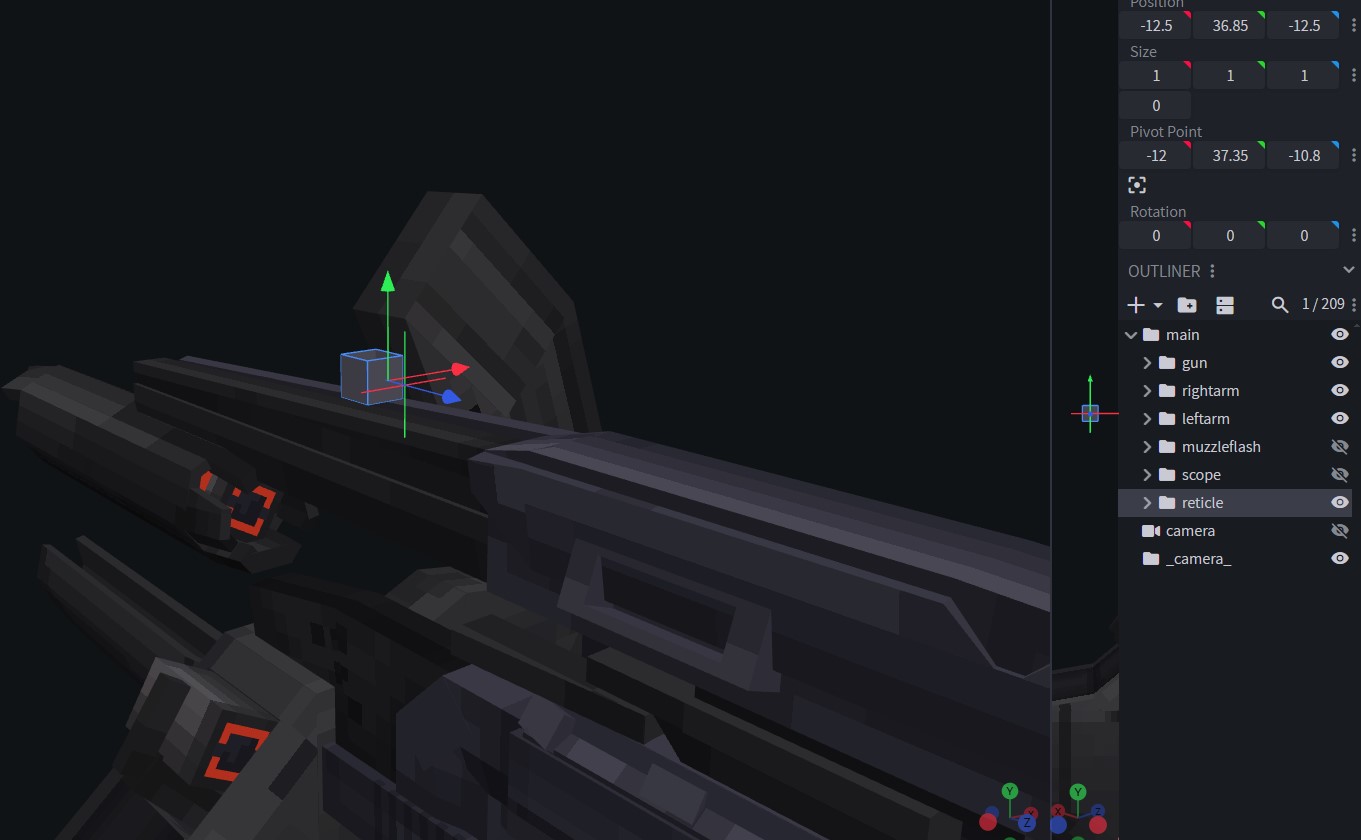
In this example, the reticle cube is in a gun model.
The cube is where the reticle texture will render. Make sure to keep it. The size of the cube also matters. If you want a large reticle, you can make the cube larger.
Make sure the scope bone aligns with the reticle.
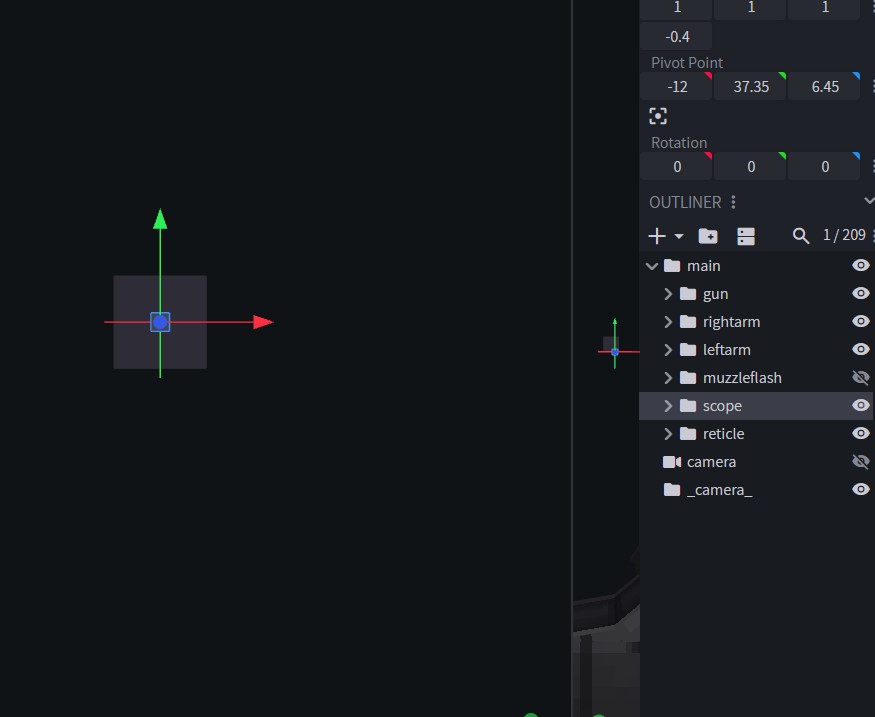
You can also create integrated PIP scopes on a gun.
PIP = Picture in Picture. It means a scope that zooms in farther. In the game, the player can toggle a setting to make the scopes use stencils.
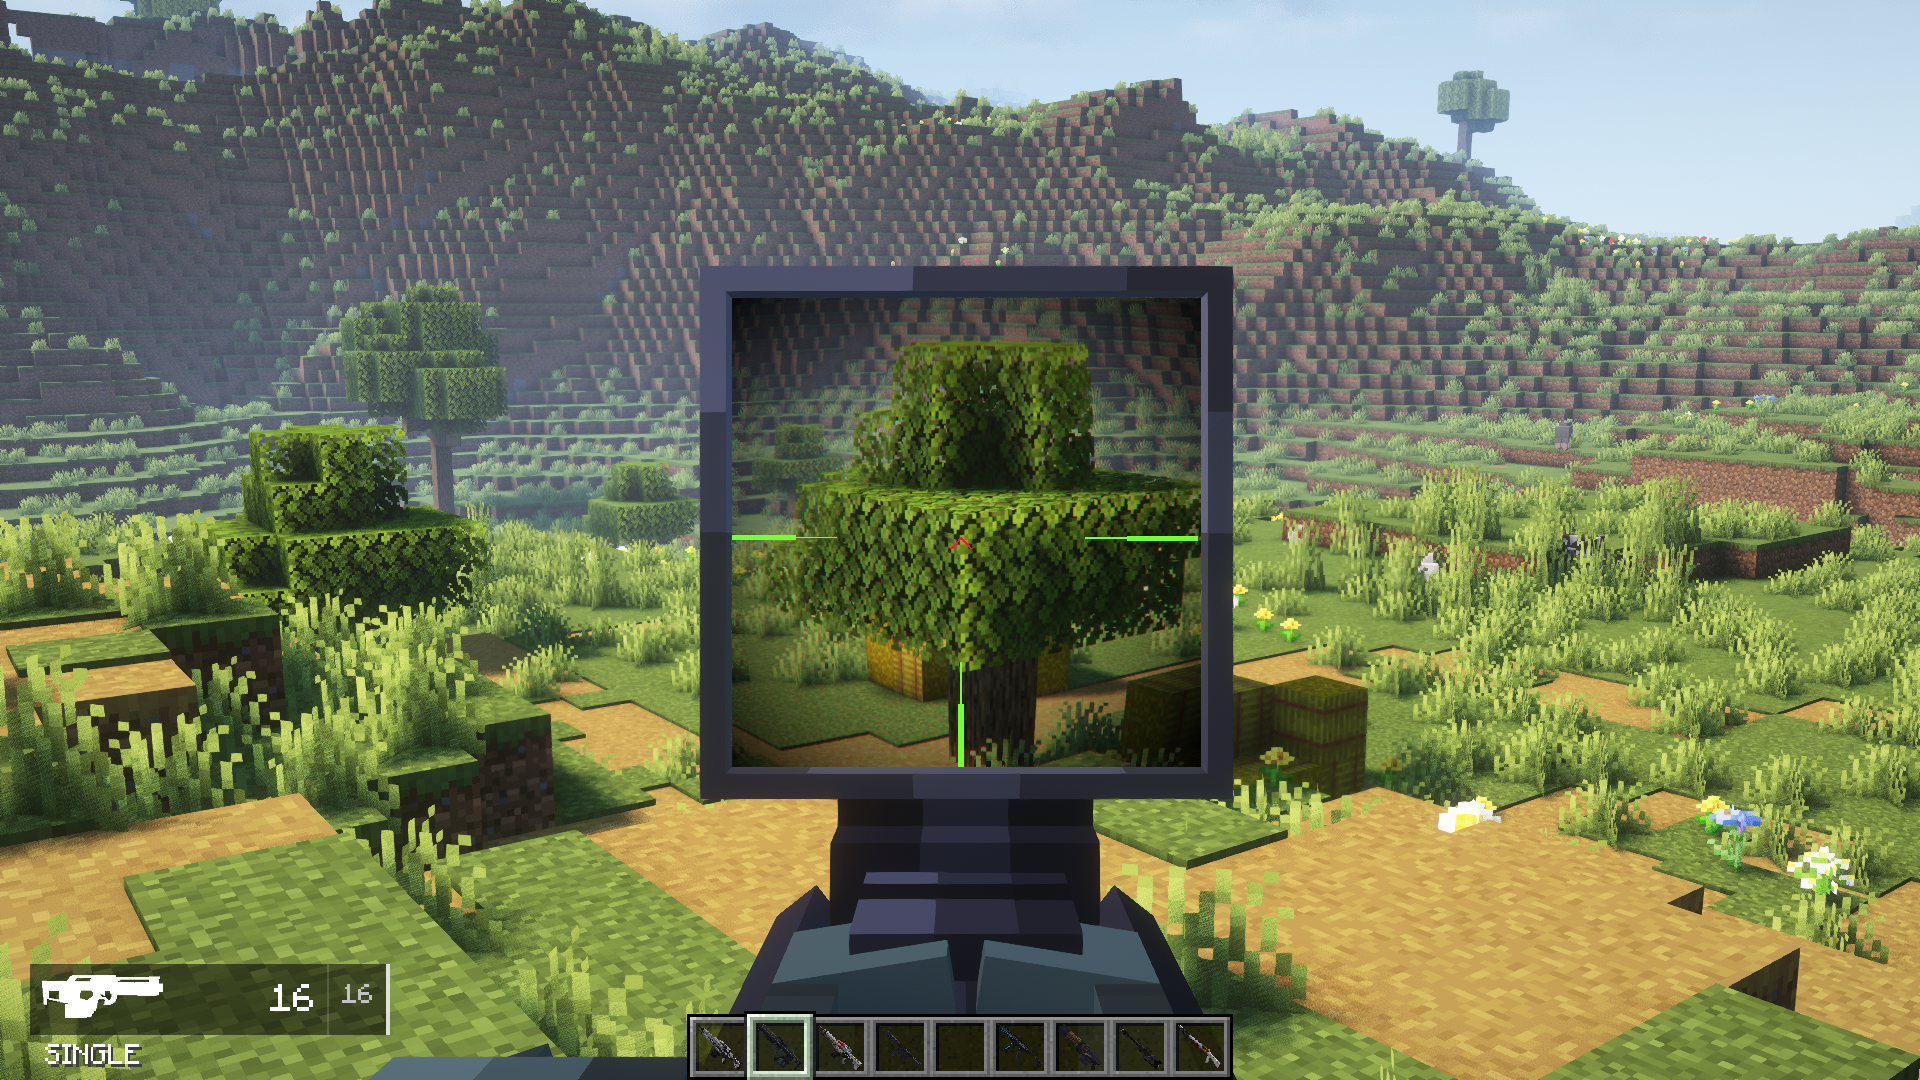
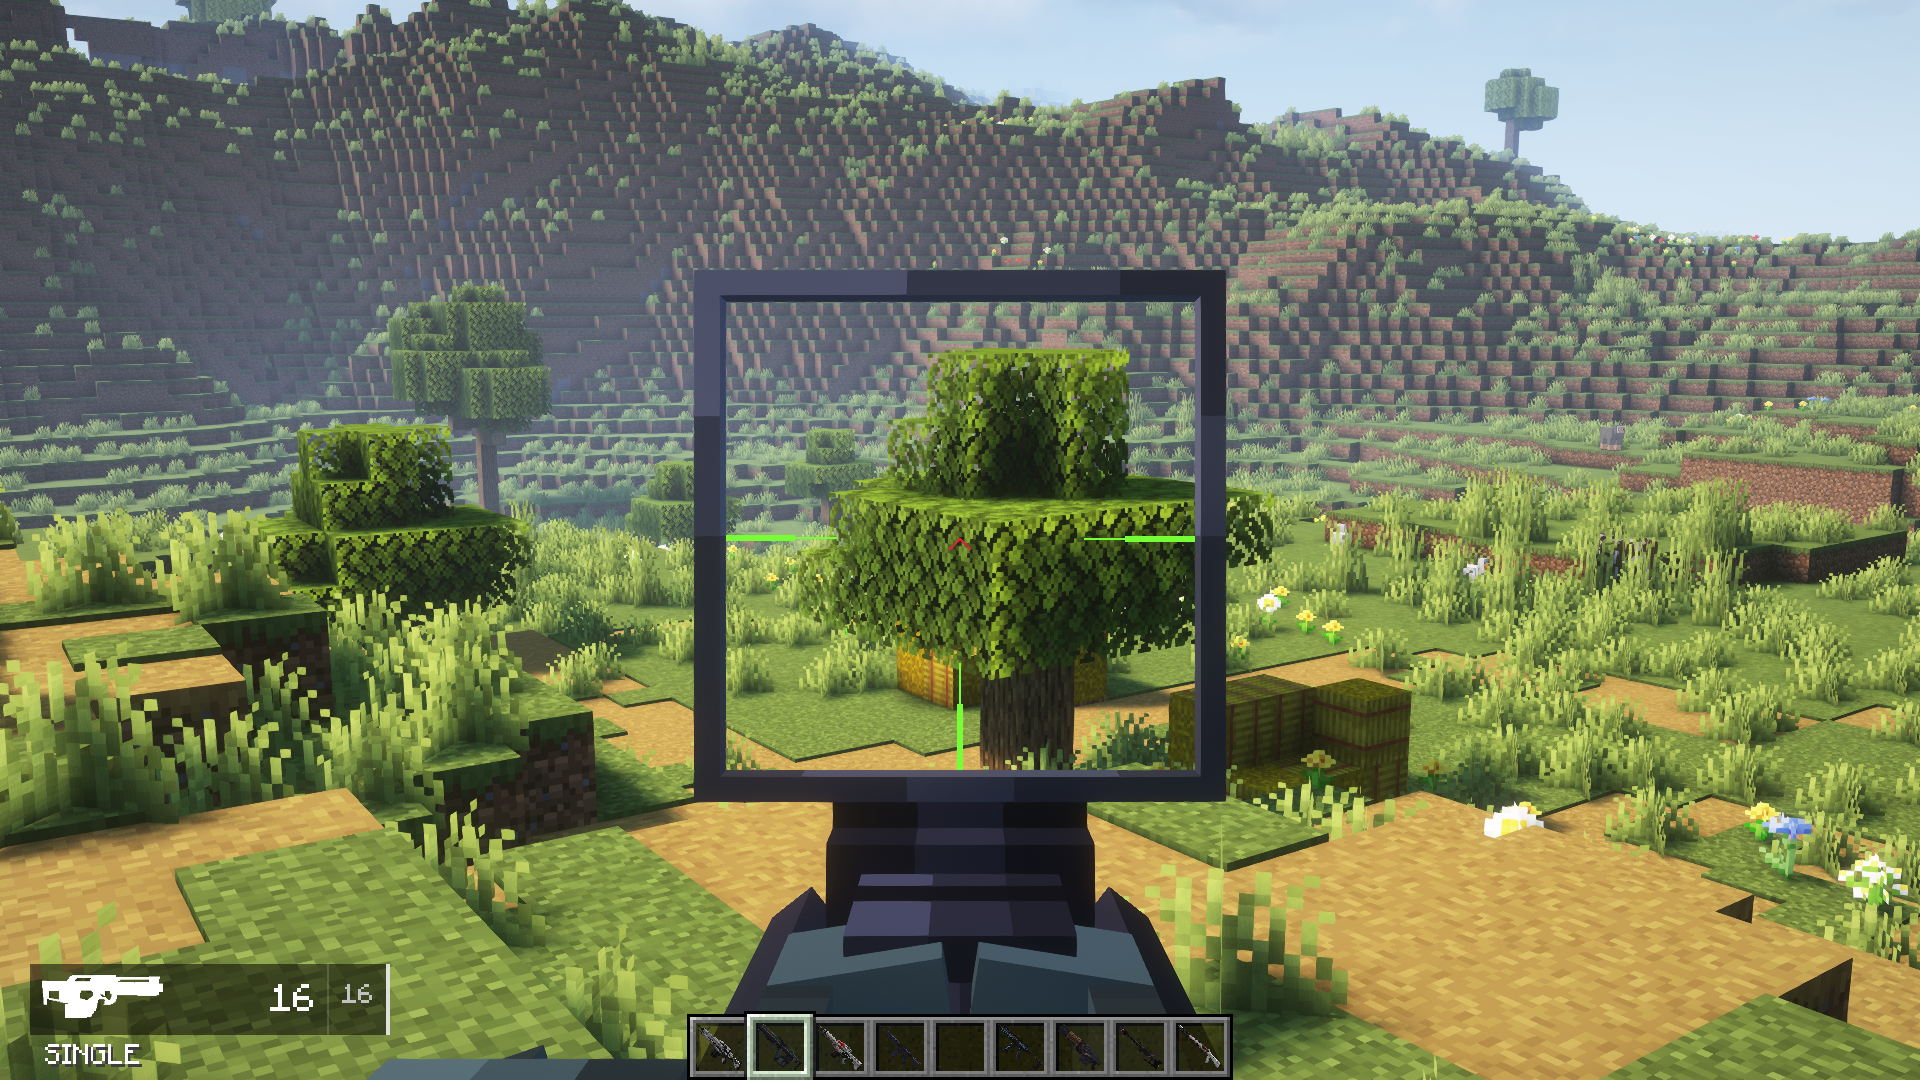
PIP scopes and stencil scopes use the same method of creation, with zero differences.
Creating a scope is very similar to creating a reticle. You need a bone with a cube. Make sure the cube has a symmetrical width and height. If it’s not symmetrical, the scope image will look squished in-game. If you want special scope shapes (sci-fi or round, etc.) we’ll cover that later.
Name the bone scopepip.
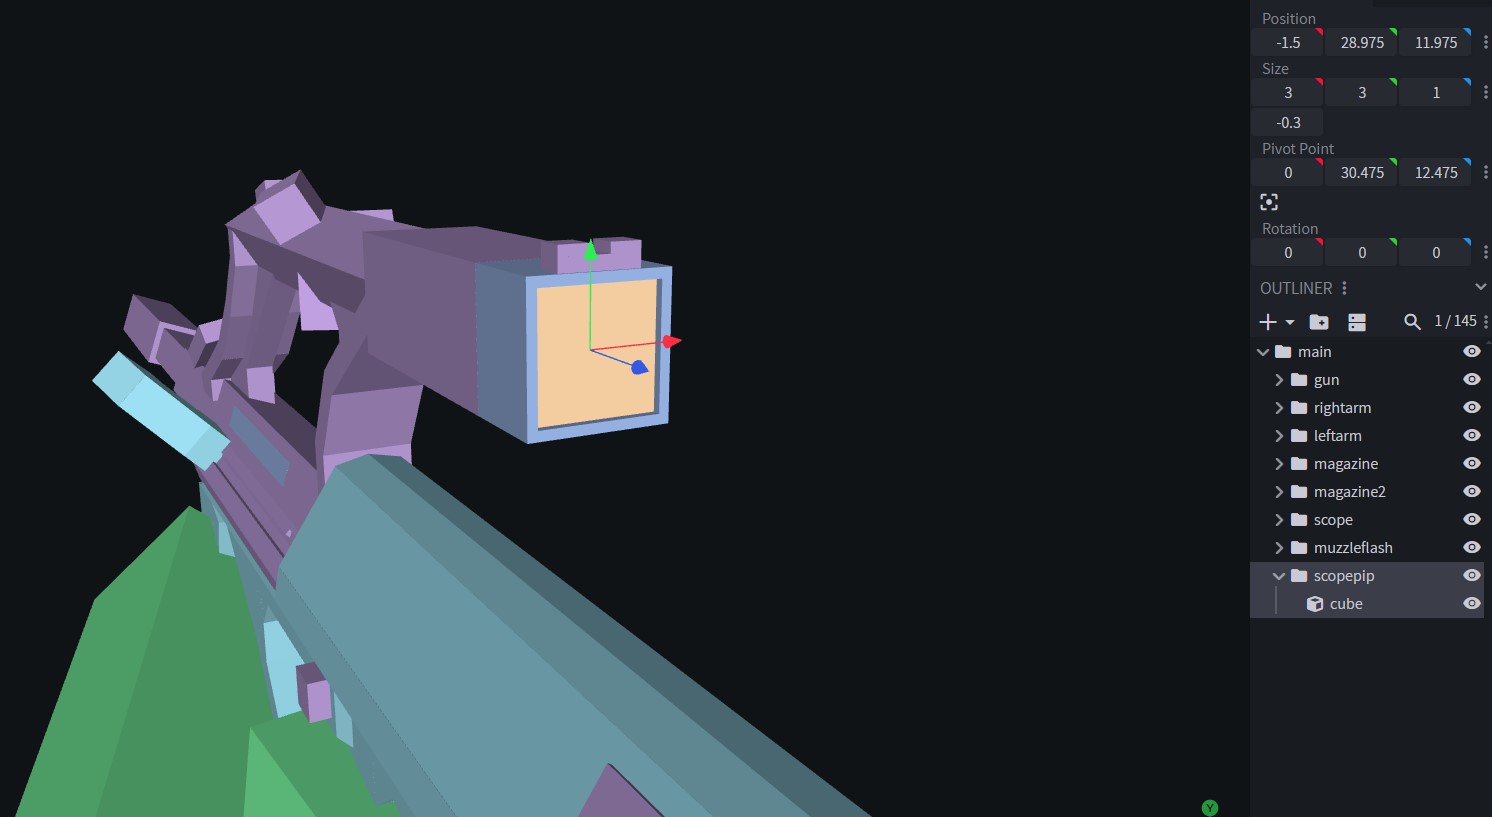
And of course, make sure your scope bone is aligned with the PIP scope.
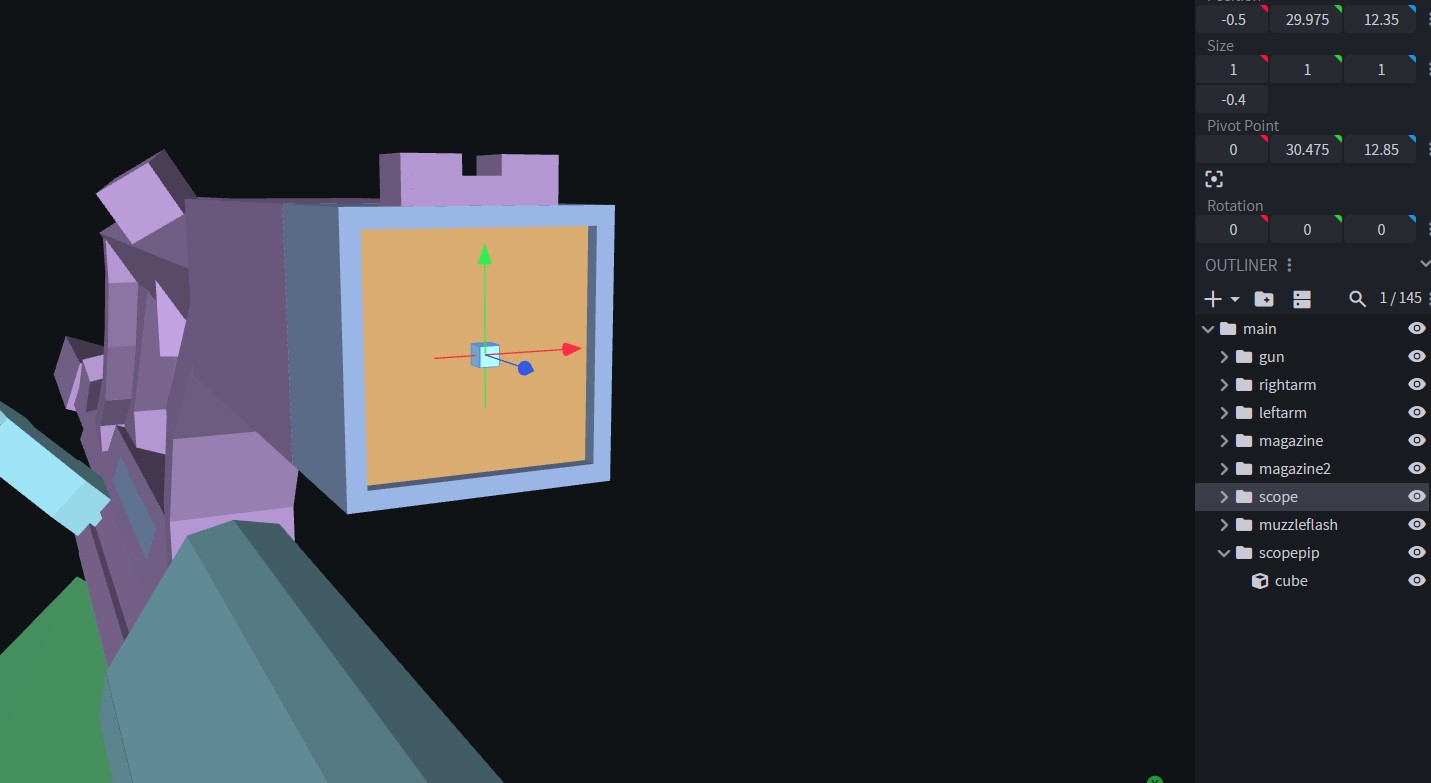
When creating scope attachments, same methods apply.
For a scope attachment, you need scopepip and scope.
For a reticle attachment, you need reticle and scope.
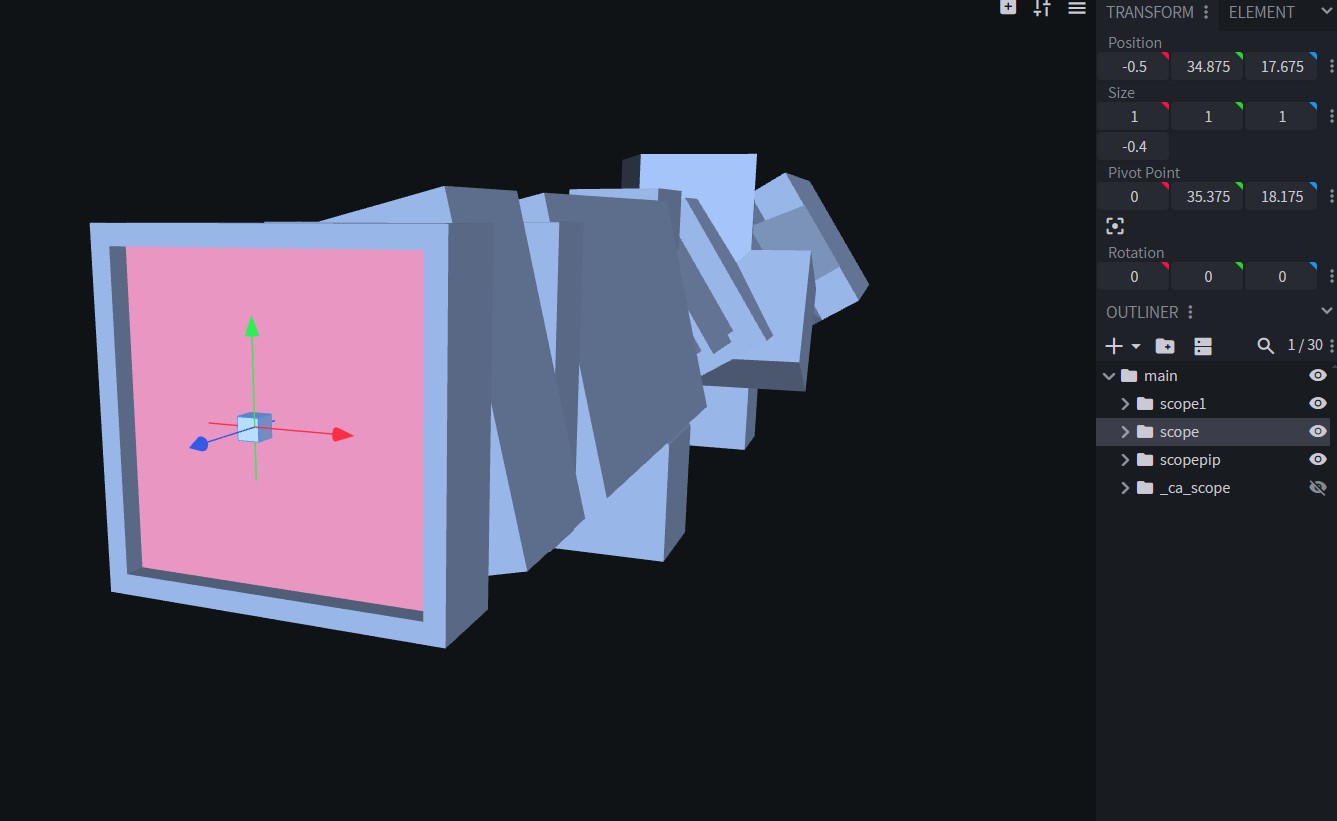
Reticle texture
For either scopes or reticle attachments, you need reticle textures. They’d look like this:
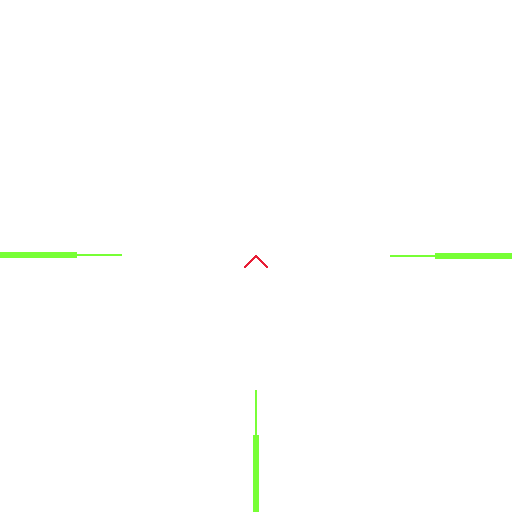

Reticle textures should be placed in assets/pointblank/textures/gui.
Creating Scope/Reticle Attachments
Once you have all of your assets in place, you can create their respective json files. These attachment jsons are located in the same place as the other attachment jsons, and the gun jsons: assets/pointblank/items.
Here’s the code for reticle attachments:
{
  "name": "destiny_marshal_sight",
  "type": "Attachment",
  "category": "scope",
  "groups": [
    "sights_group",
    "ar_sightsandscopes",
    "m16_sightsandscopes",
    "deagle_sights",
    "snipers_sights",
    "sl8_sights",
    "sub_sight"
  ],
  "features": [
    {
      "type": "Aiming",
      "zoom": 0.35
    },
    {
      "type": "Reticle",
      "texture": "textures/item/reticledot_new.png",
      "parallax": true,
      "maxAngularOffset": 5
      }
  ]
}
As you can see, it’s not a lot still. The work to make this a scope is handled in three places:
category=scope- And under
features:AimingandReticle
Here, you assign the Aiming feature with a zoom value, and a Reticle feature with an assigned new texture. Parallax and maxAngularOffset allow you to tinker with the movement of the reticle when the player turns their head. Feel free to experiment. If you want a reticle to behave like the way they do in the base mod, you don’t need to mess with these settings—keep them as they are here.
Here’s the code for a scope attachment:
{
  "name": "destiny_midamultitool_scope",
  "type": "Attachment",
  "category": "scope",
  "groups": [
    "sights_group",
    "ar_sightsandscopes",
    "m16_sightsandscopes",
    "deagle_sights",
    "snipers_sights",
    "sl8_sights"
  ],
  "features": [
    {
      "type": "Aiming",
      "zoom": 0.6
    },
    {
      "type": "PIP",
      "overlayTexture": "textures/gui/destiny_mmt_pip.png",
      "zoom": 0.5,
      "parallax": true,
      "maxAngularOffset": 5,
      "altZoom": 0.6
    }
  ]
}
Similar code. Instead of using the Reticle feature, this attachment uses the PIP feature. Similar settings with texture and zoom. Parallax and maxAngularOffset is also included.
altZoom is a setting separate from the zoom setting, which allows you to control how far the screen zooms in when the player has PIP scopes turned off in-game.
Integrated Scopes and Reticles
If you’re creating an integrated reticle in a gun, you need the following code inside features:
{
      "type": "Reticle",
      "texture": "textures/item/hl_reticle.png",
      "parallax": true,
      "maxAngularOffset": 5
    }
Same settings as you’d see when creating attachments.
If you’re creating an integrated PIP scope in a gun, you need the following code also inside features:
Example PIP code from community-made Cyberpunk 2077 pack:
{
      "type": "PIP",
      "overlayTexture": "textures/gui/hercules_scope_pip.png",
      "zoom": 0.25,
      "altZoom": 0.375
    }
Special-Shaped Scopes
Sometimes, you don’t want a square scope. If you’re working on a sci-fi pack, maybe you want a scope with an eccentric shape.
Or maybe you want to make a realistic round scope.
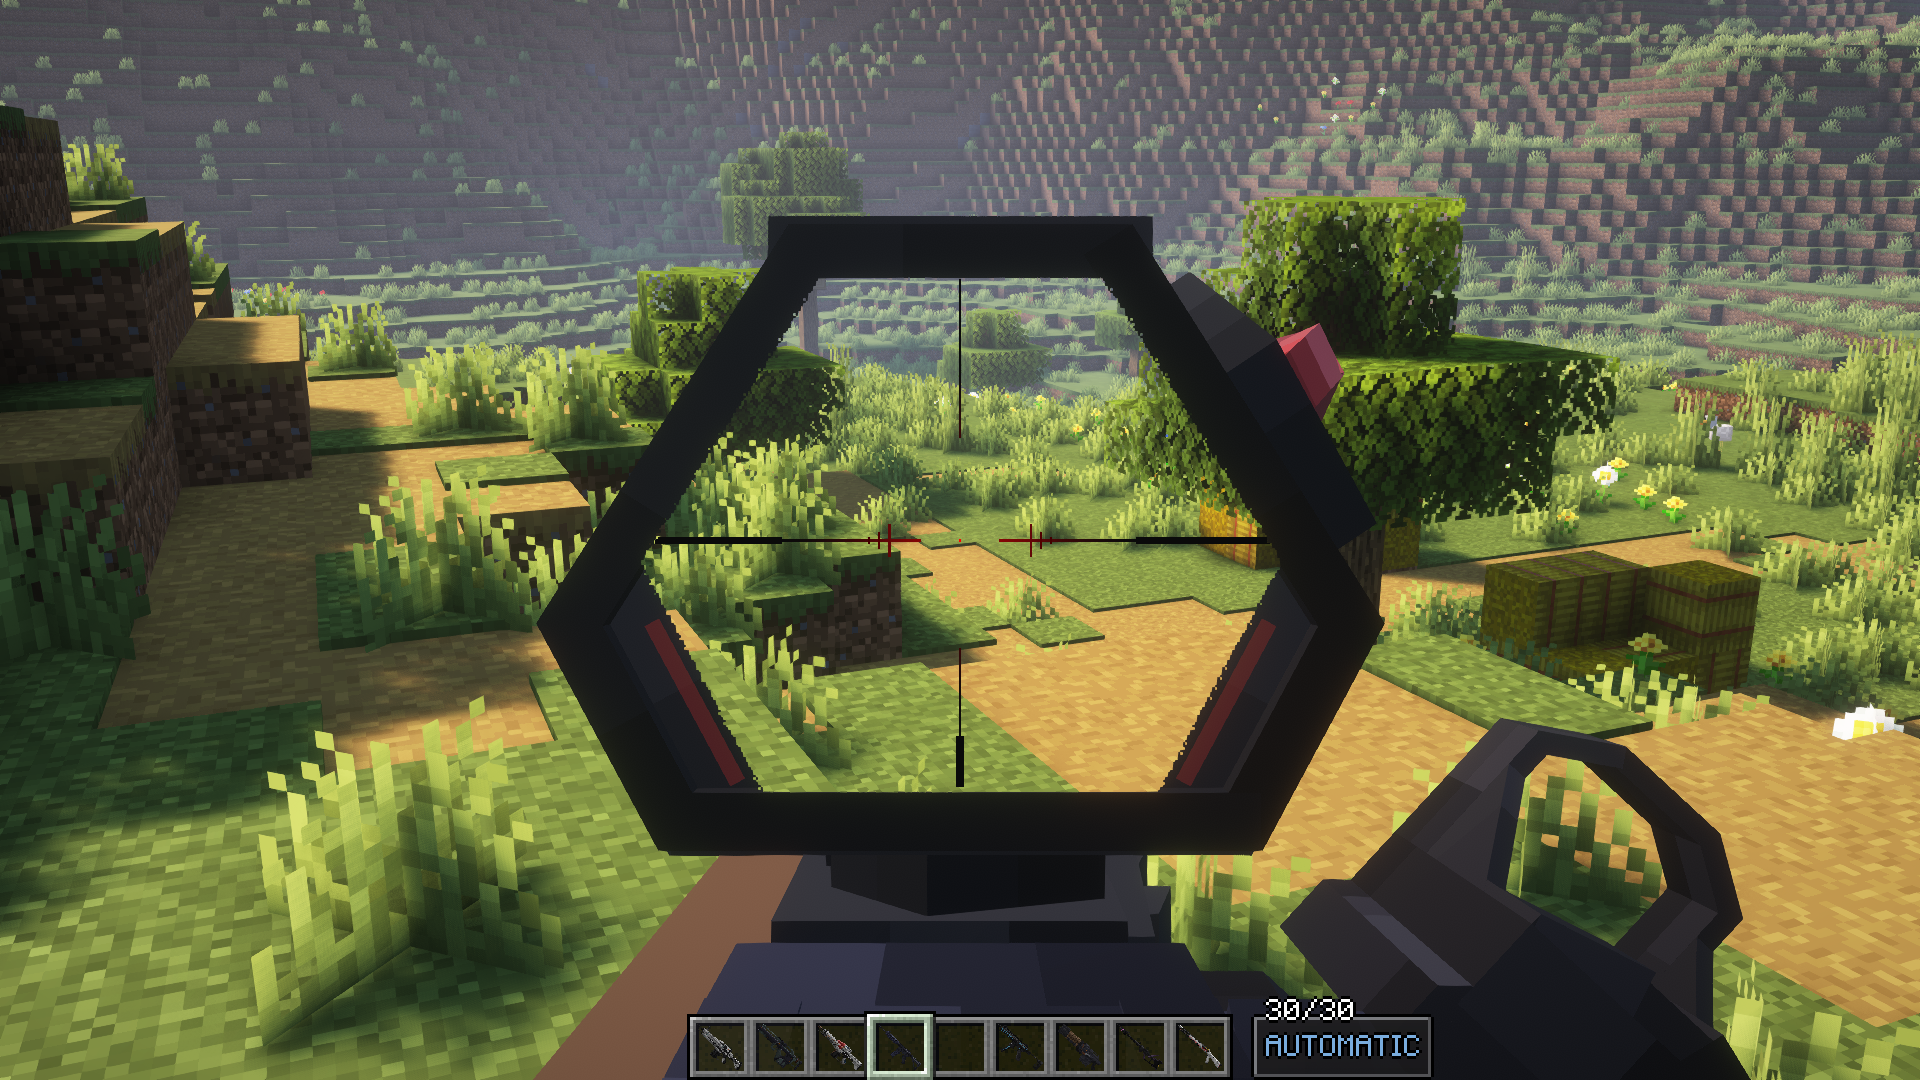
To accomplish this, we need to create a mask. We need 2 things: a texture, and a new line of code where the scope is defined.
This is what a mask texture looks like:

The white shape is the shape you want the scope to be. Everything outside of the white shape will be cut.
It’s up to you to draw the shape you want.
This texture goes in assets/pointblank/textures/gui along with the reticles.
Afterward, you need to go to wherever the PIP scope is defined (either the attachment or your gun), and add a new line of code:
{
      "type": "PIP",
      "maskTexture": "textures/gui/cp2077_pip_mask_hercules.png",
      "overlayTexture": "textures/gui/hercules_scope_pip.png",
      "zoom": 0.25,
      "altZoom": 0.375
    }
maskTexture here tells the PIP to use a specific mask texture to cut out a shape.
Overlay Scopes
There’s a another specific method for creating scopes in content packs. This one isn’t a reticle or a PIP scope, but a texture that covers the whole screen. Very good for niche situations.
Example of an overlay scope from the Cyberpunk 2077 pack:
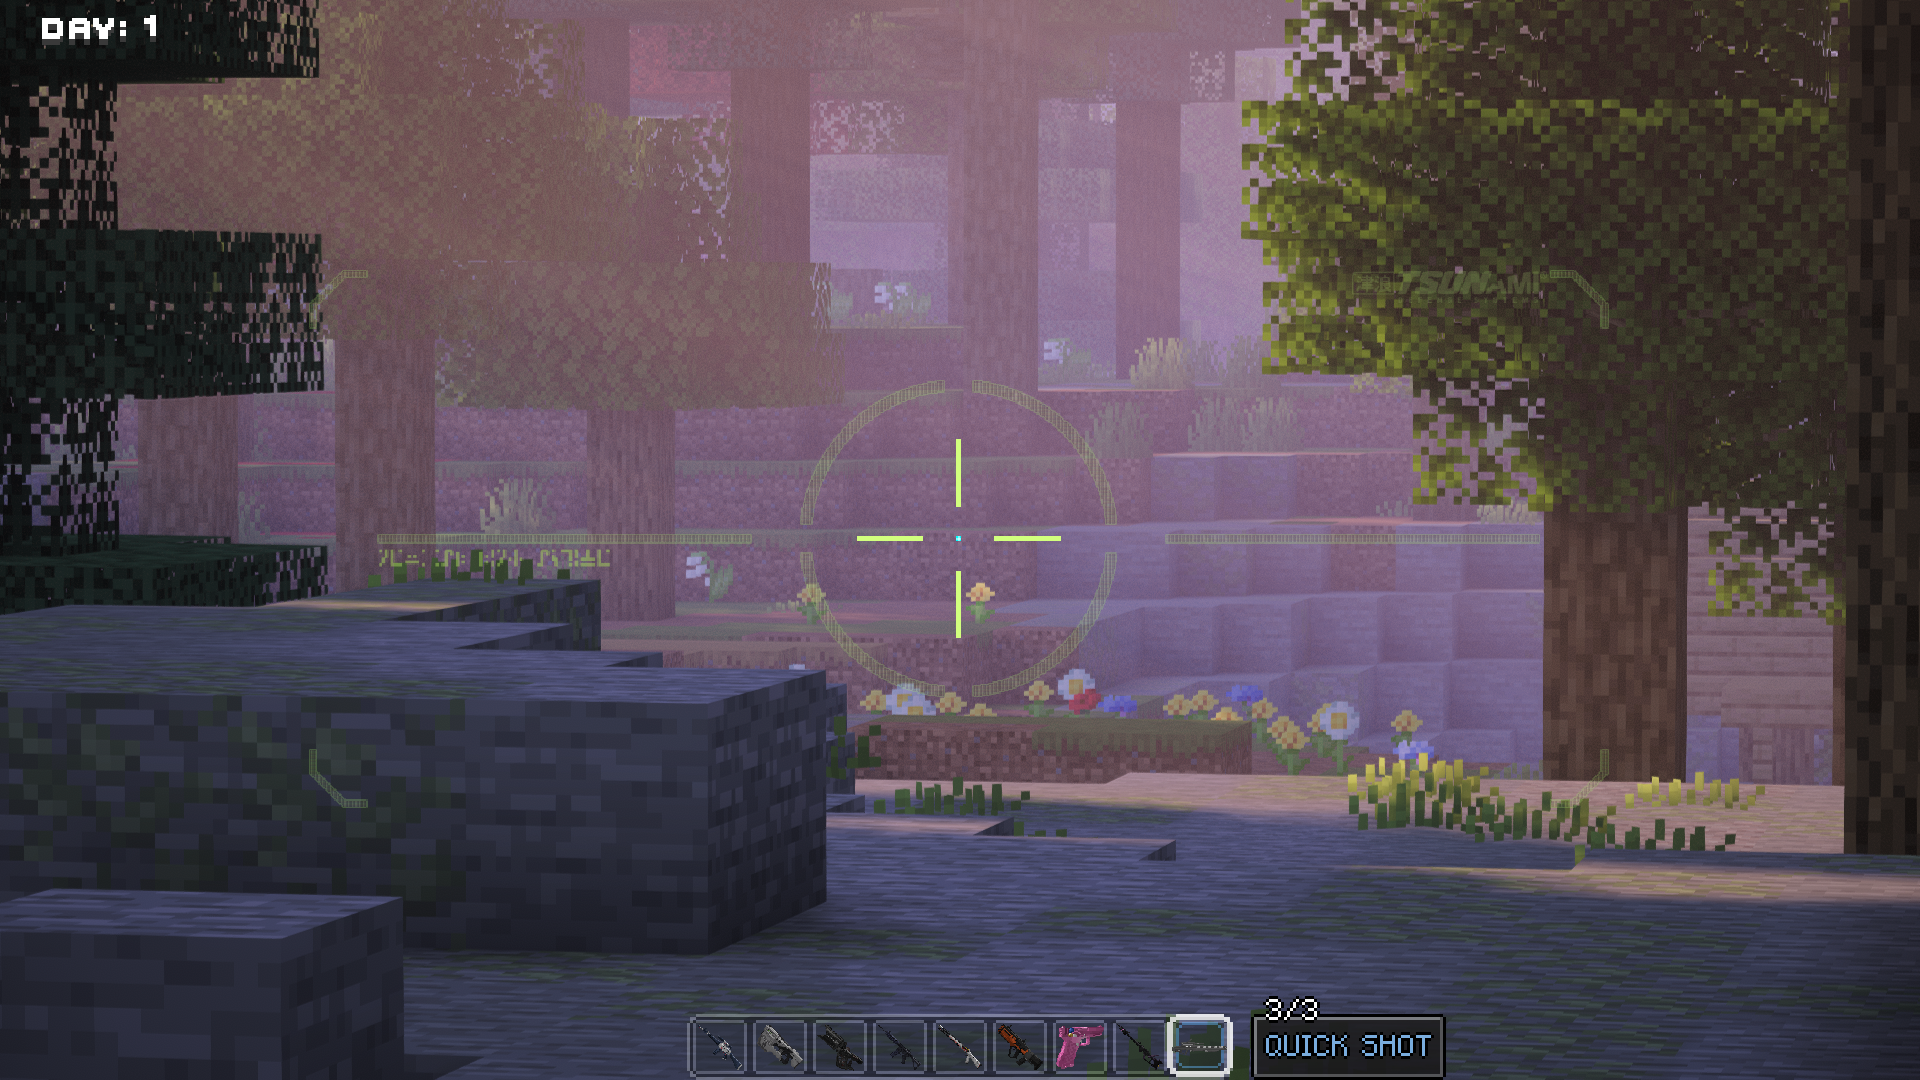
To accomplish this, you of course need a texture and a new line of code in the gun json.
The texture might look something like this:
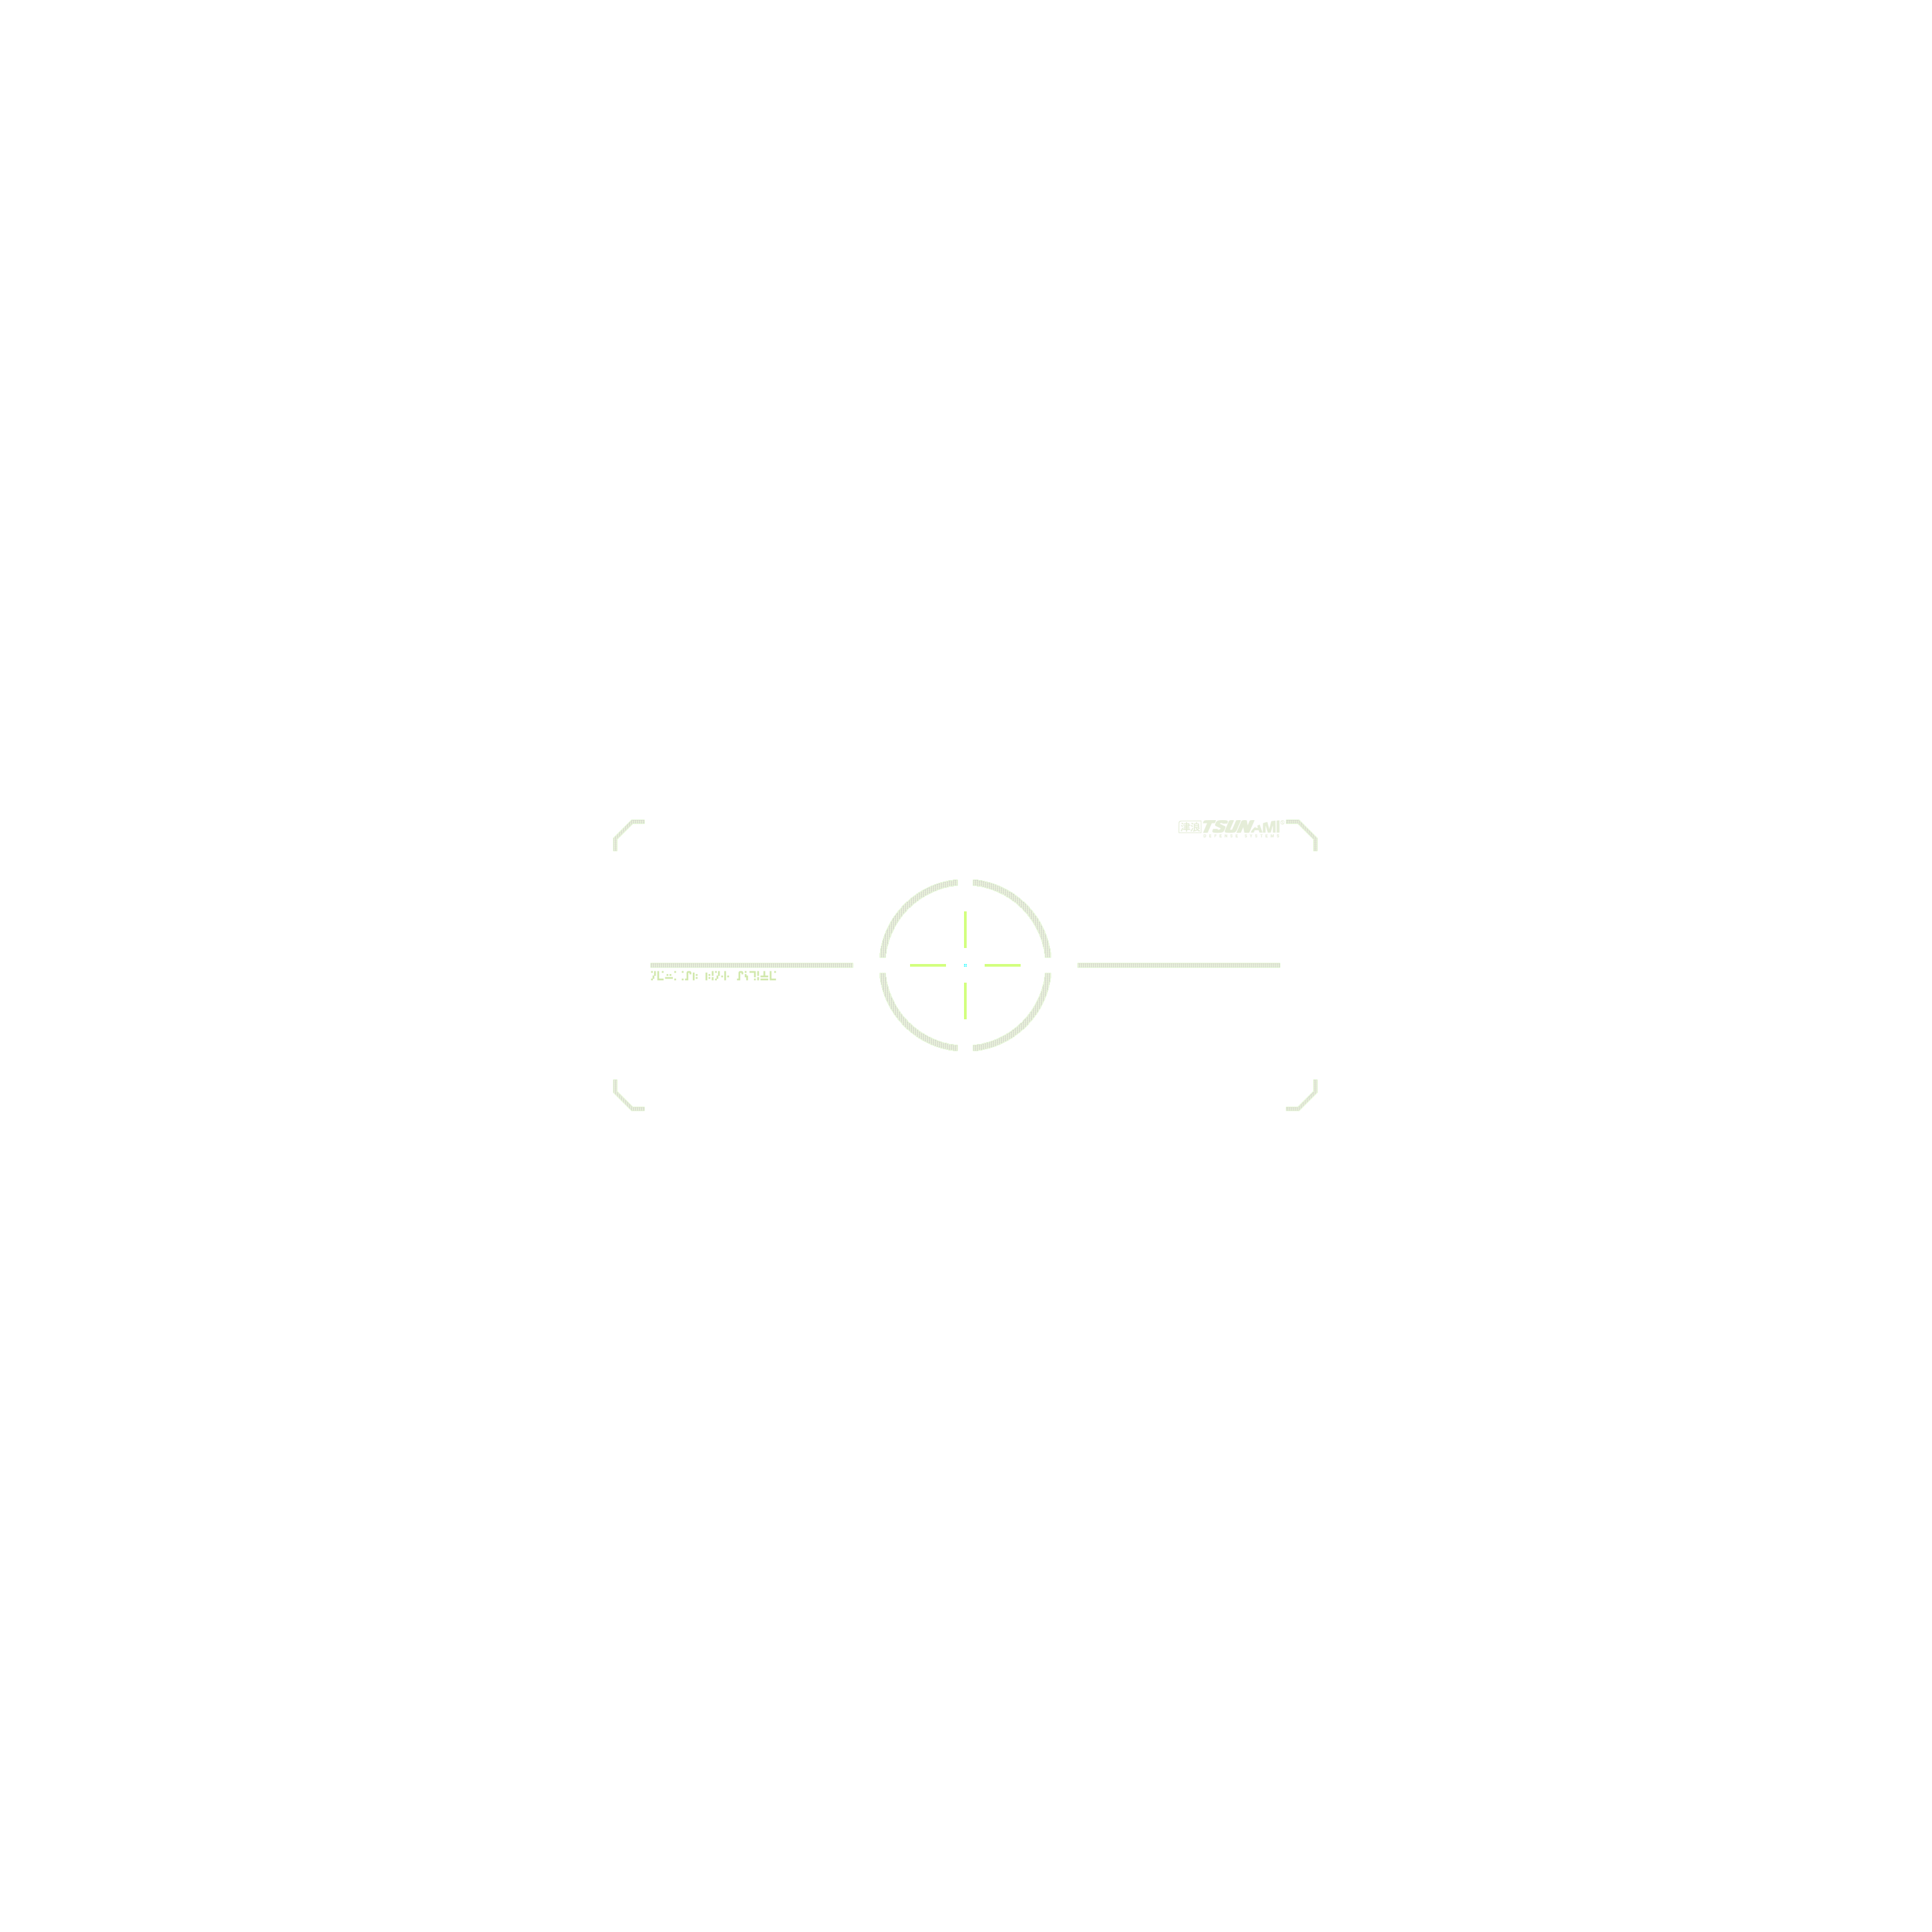
Of course, it should be placed in assets/pointblank/textures/gui.
After placing your texture, go to the gun json, and insert this new line:
"scopeOverlay" : "textures/gui/scopeoverlaytexture.png"This is not a line that goes inside features. Rather, it’s alongside other lines like damage, rpm, viewRecoilAmplitude etc..
This scope overlay feature is not something that applies to attachments. Only guns.