Blockbench
Blockbench is where all the asset design work happens. Modeling, texturing, animating.
Point Blank uses Geckolib as a library to render these assets and their animations, so in Blockbench, you’ll actually need to install a plugin: Geckolib Models & Animations.
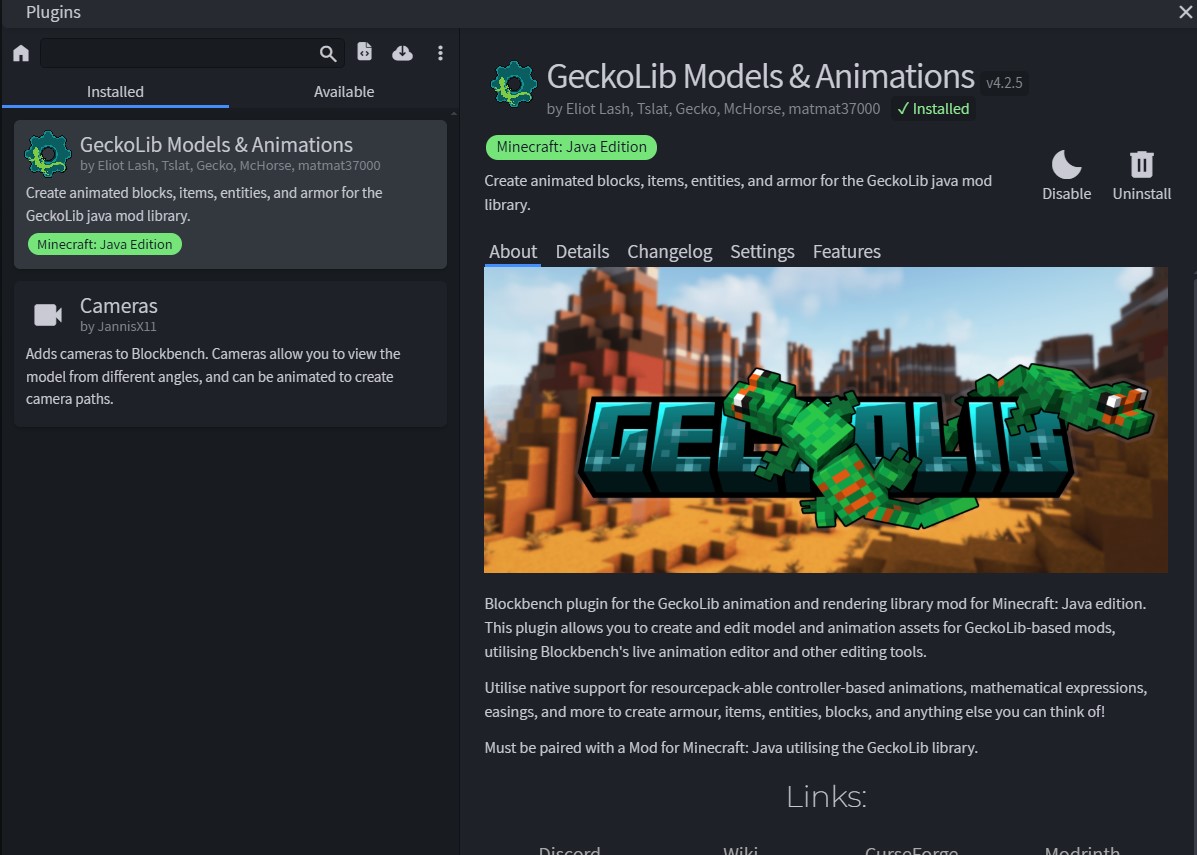
Once you have the plugin installed, when you create a gun project, you need to use the plugins format: Geckolib Animated Model, type Item.
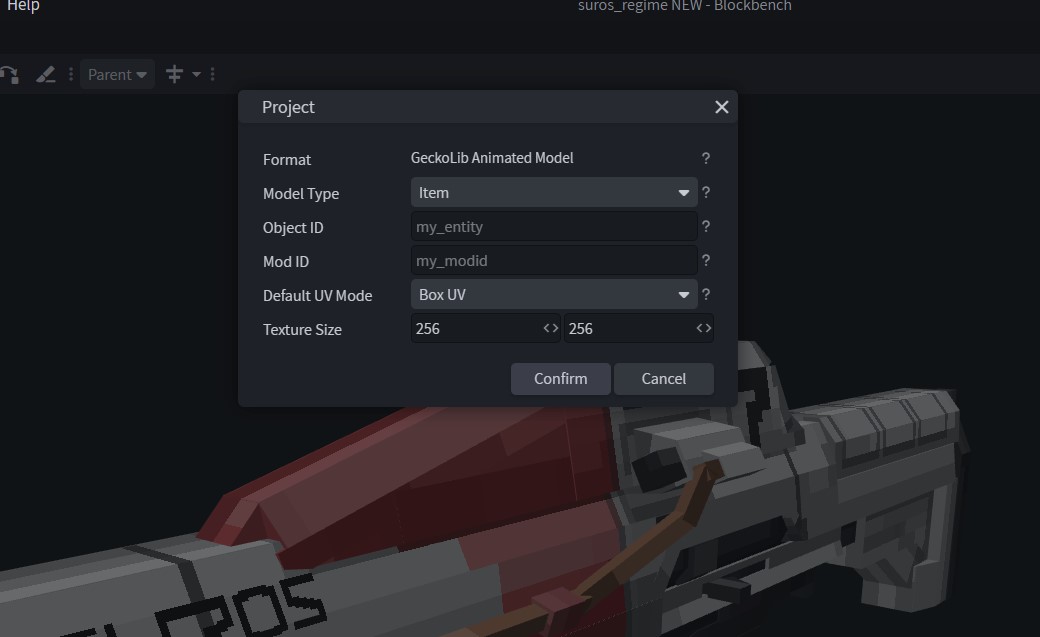
Make sure you check your Model Type. It needs to be item. This way, all 4 tabs at the right side of your screen will appear: Edit, Paint, Display, and Animate. If your Model Type is different, like Entity, your Display tab will be missing.
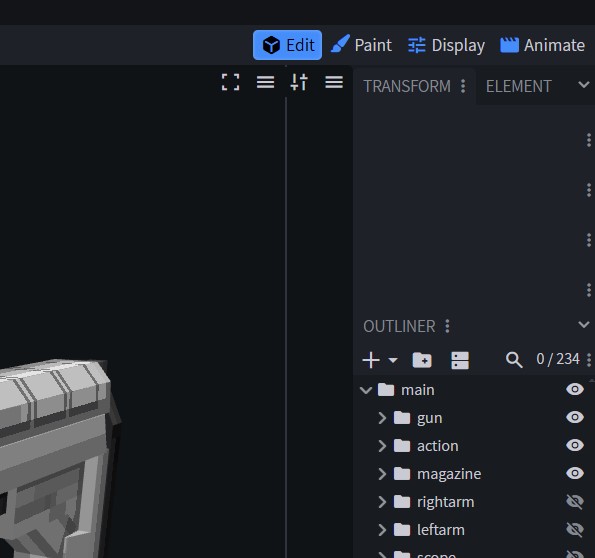
You’ll notice the example screenshots also show a plugin called Cameras. This plugin will allow you to animate the camera in your weapon animations. More on this later.
Model Components: Basic
Your weapon model should consist of these things:
main group. Contains the whole model.
rightarm group. Contains the right arm model.
leftarm group. Contains the left arm model.
When designing the arms, it’s best to actually steal the arm models from existing gun models. You can download a content pack, open its .geo files (.geo is the model format) in Blockbench, and copy-paste its arms into your own model.
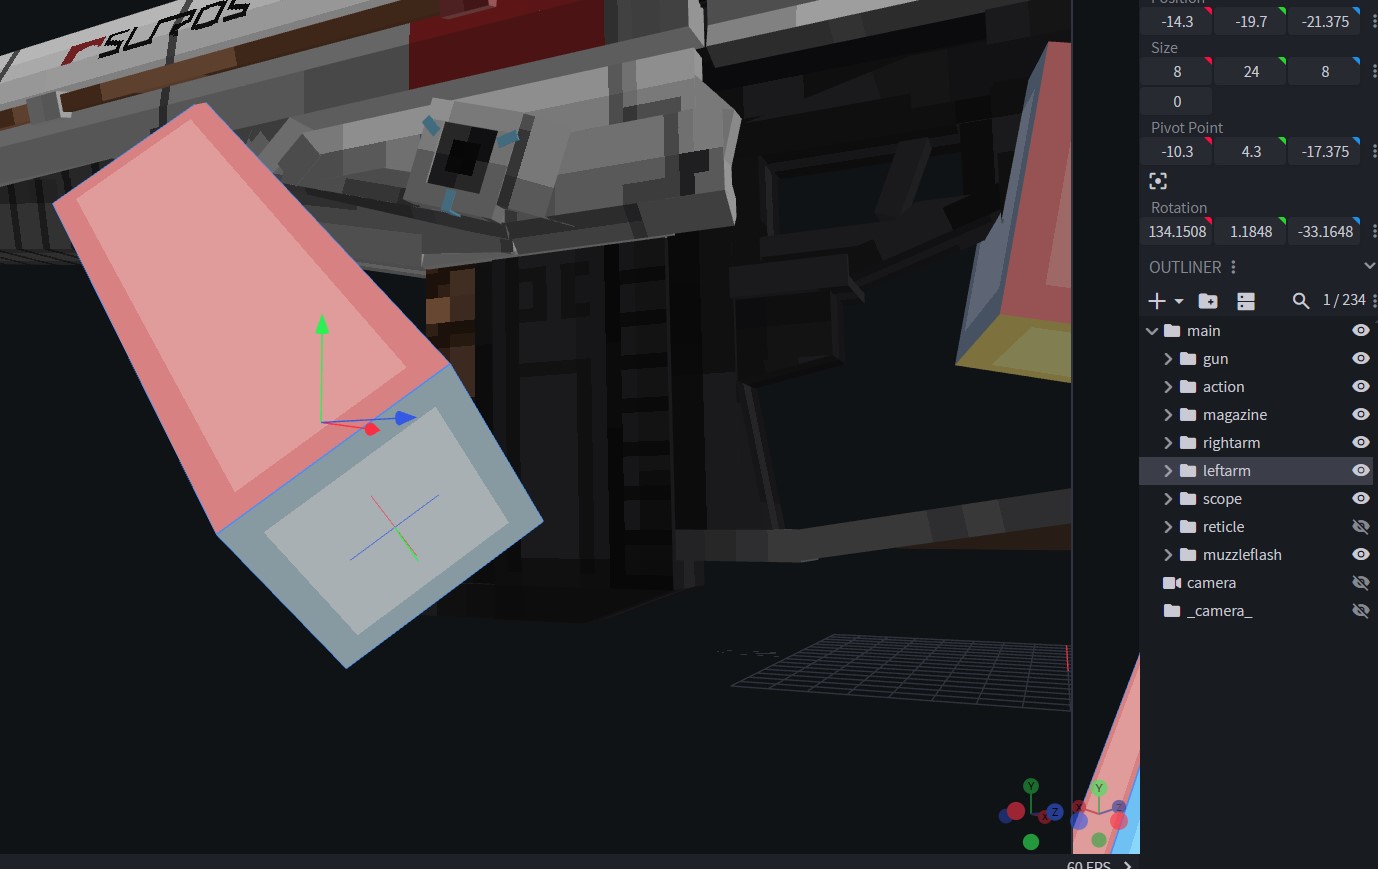
The reason why copy-pasting is best is because the arms must be designed a specific way. Their scale cannot be changed, otherwise it won’t render properly in-game the way you expect. Their pivot points cannot be changed, otherwise it won’t render properly. Existing models from other packs will have the arms set up properly already. You can, however, change the position and rotation of the arms however you like—make sure to use the pivot of the group to position and rotation, and not the pivot of the cube inside the group. If you want to change the scale, this is something you can accomplish in animations.
You’ll notice in this example, there are more groups. These are optional ones for the sake of convenience. Overall, you can set up your model however you like, so long as it all fits under main.
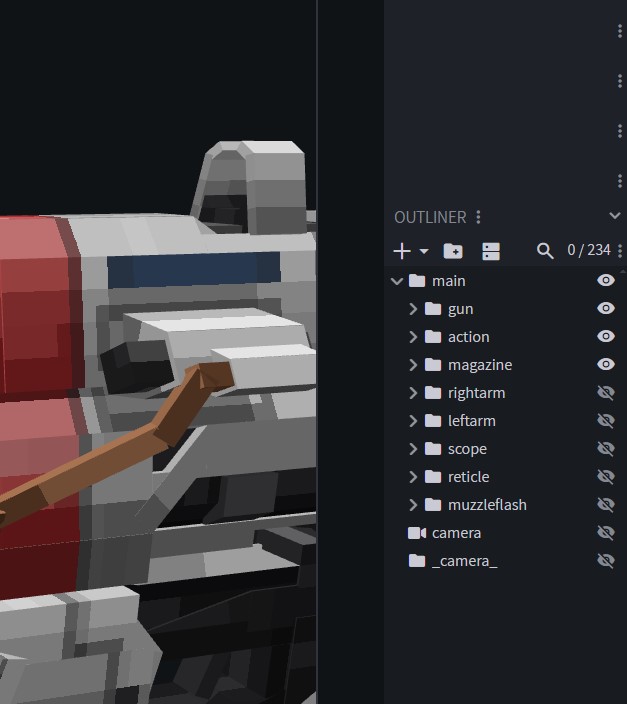
You’ll notice there are two other groups outside of main called camera. The item with the actual camera icon is the camera itself, from the Cameras plugin.
The second camera item is a dummy group. The reason it exists is because if you animate the camera, its keyframes won’t actually export to the .geo file, because that’s not what the Cameras plugin is designed to do. Instead, once you create keyframes for the Camera, you can copy-paste them into the camera dummy group. This way, the keyframes will make their way into the export, and the mod will pick it up properly when rendering the gun in-game.
Both camera items are outside the main group, and this is intentional. It’s easiest to animate like this.
Model Components: Aiming, Muzzle Flash
When animating you’ll obviously want your moving parts, such as bullets, magazines, charging handles, etc..
More importantly, you also need extra groups that allow certain behaviors for the gun, like aiming, and attachment positions.
For the gun to aim center in the game, a group in Blockbench acts as a reference point. It’s called scope. You can copy-paste this group from other models as well. To make sure it centers properly, make sure to have both the small cube and the group’s pivot designed properly.
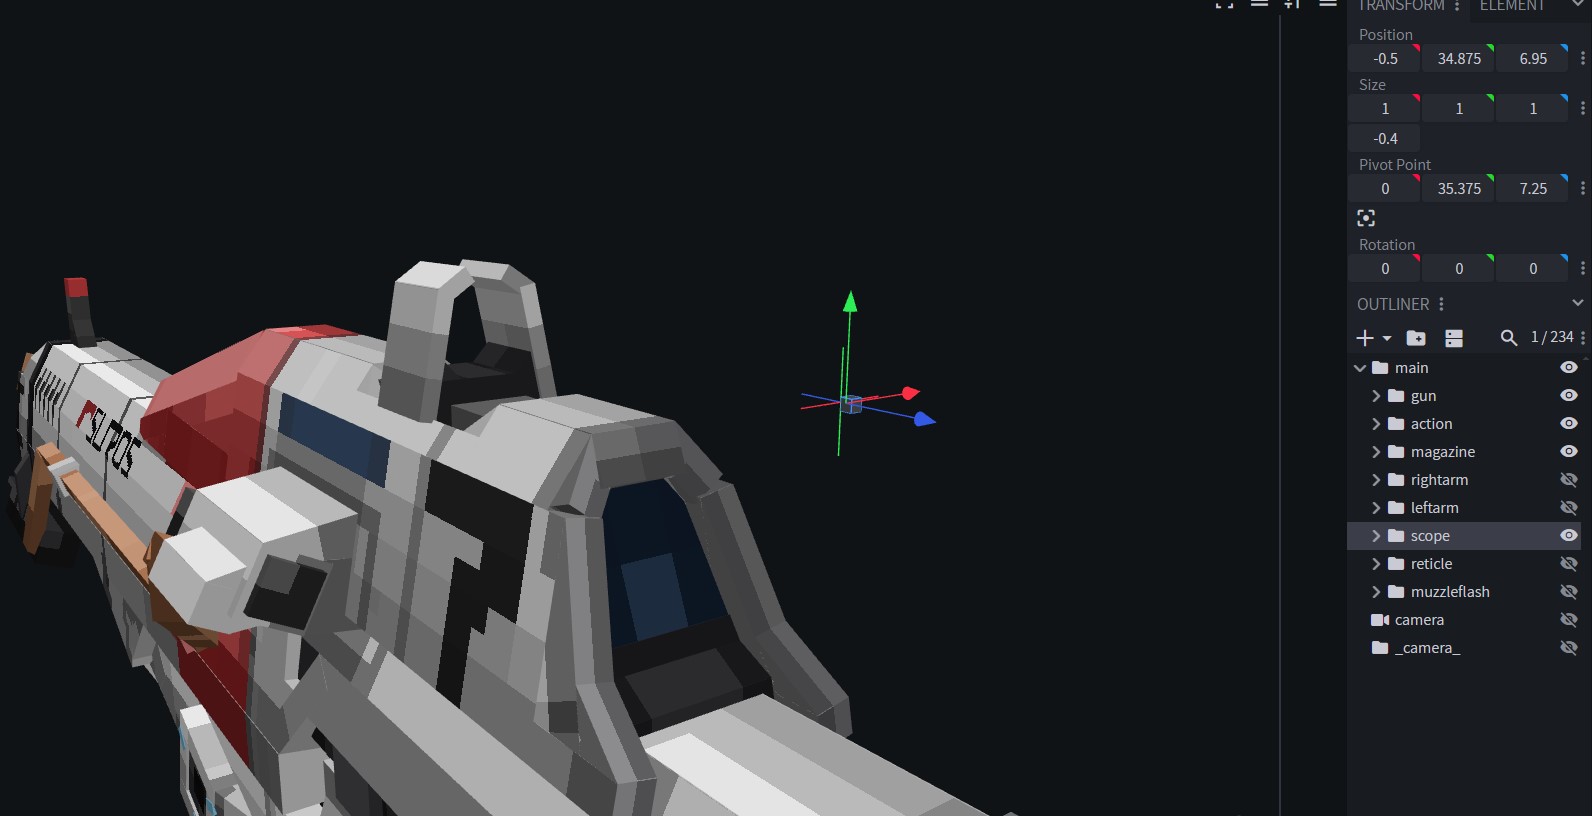
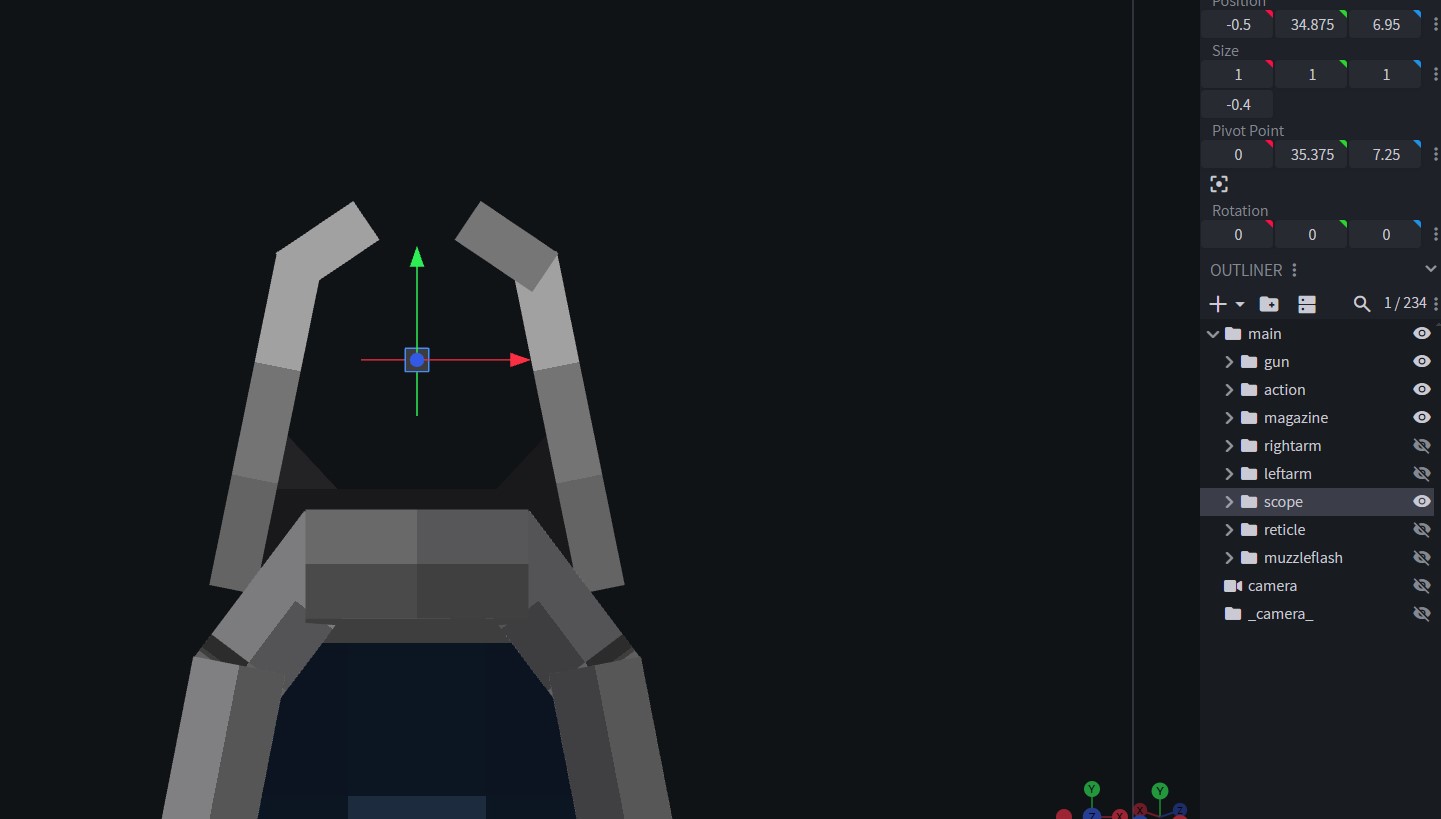
Another essential group is muzzleflash. This acts as a reference point for where the muzzle flash effect will play (and also where tracers/projectiles emerge out of).
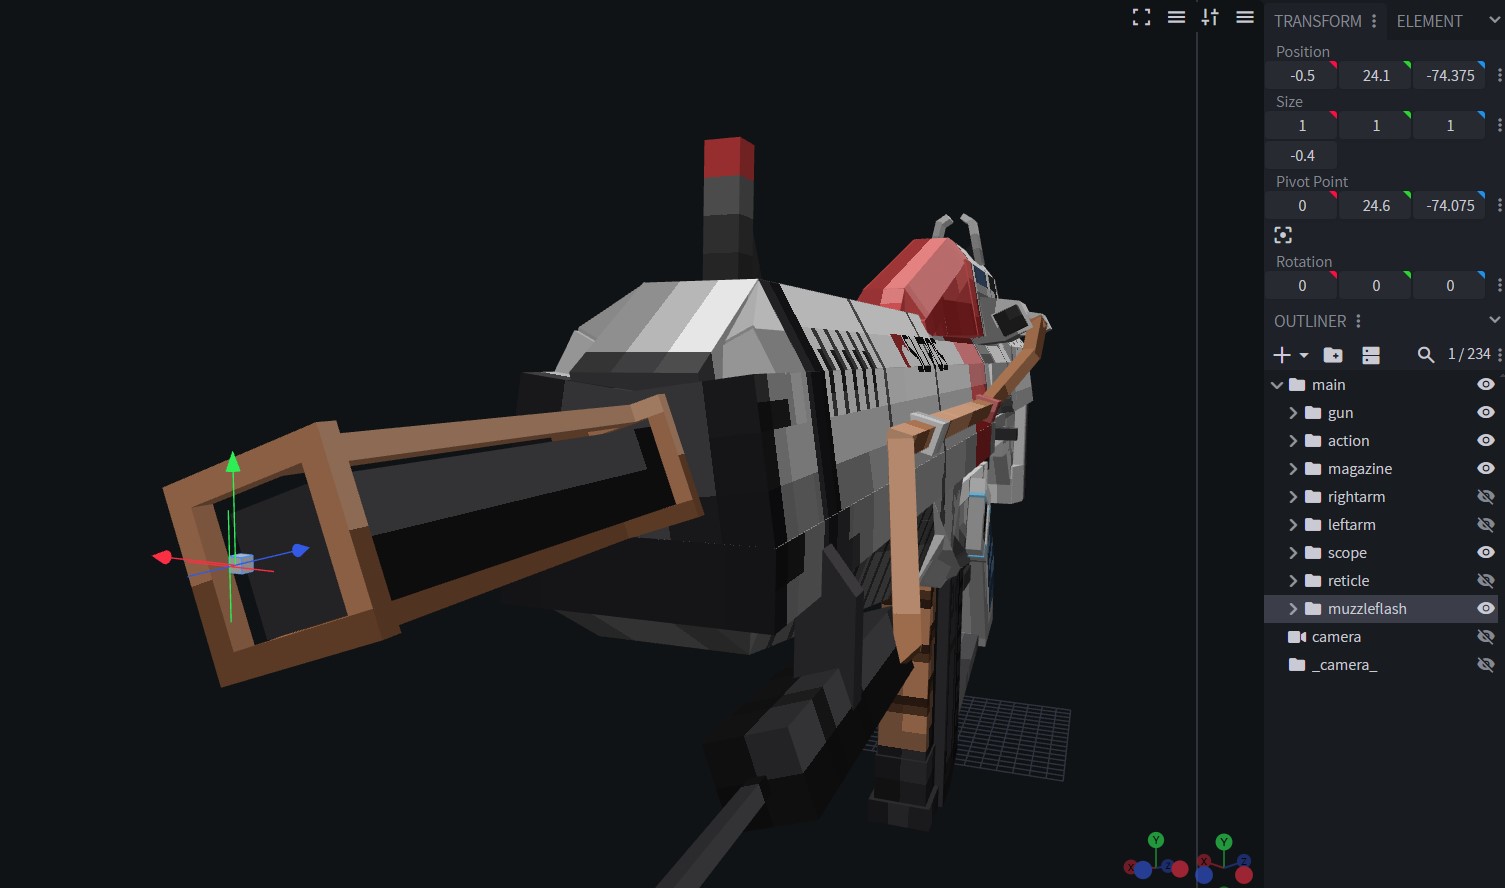
For properly positioning attachments and implementing integrated sights/scopes, visit Attachments 1.
Once your modeling work is done, you need to texture your weapon, animate it, and configure its display settings.
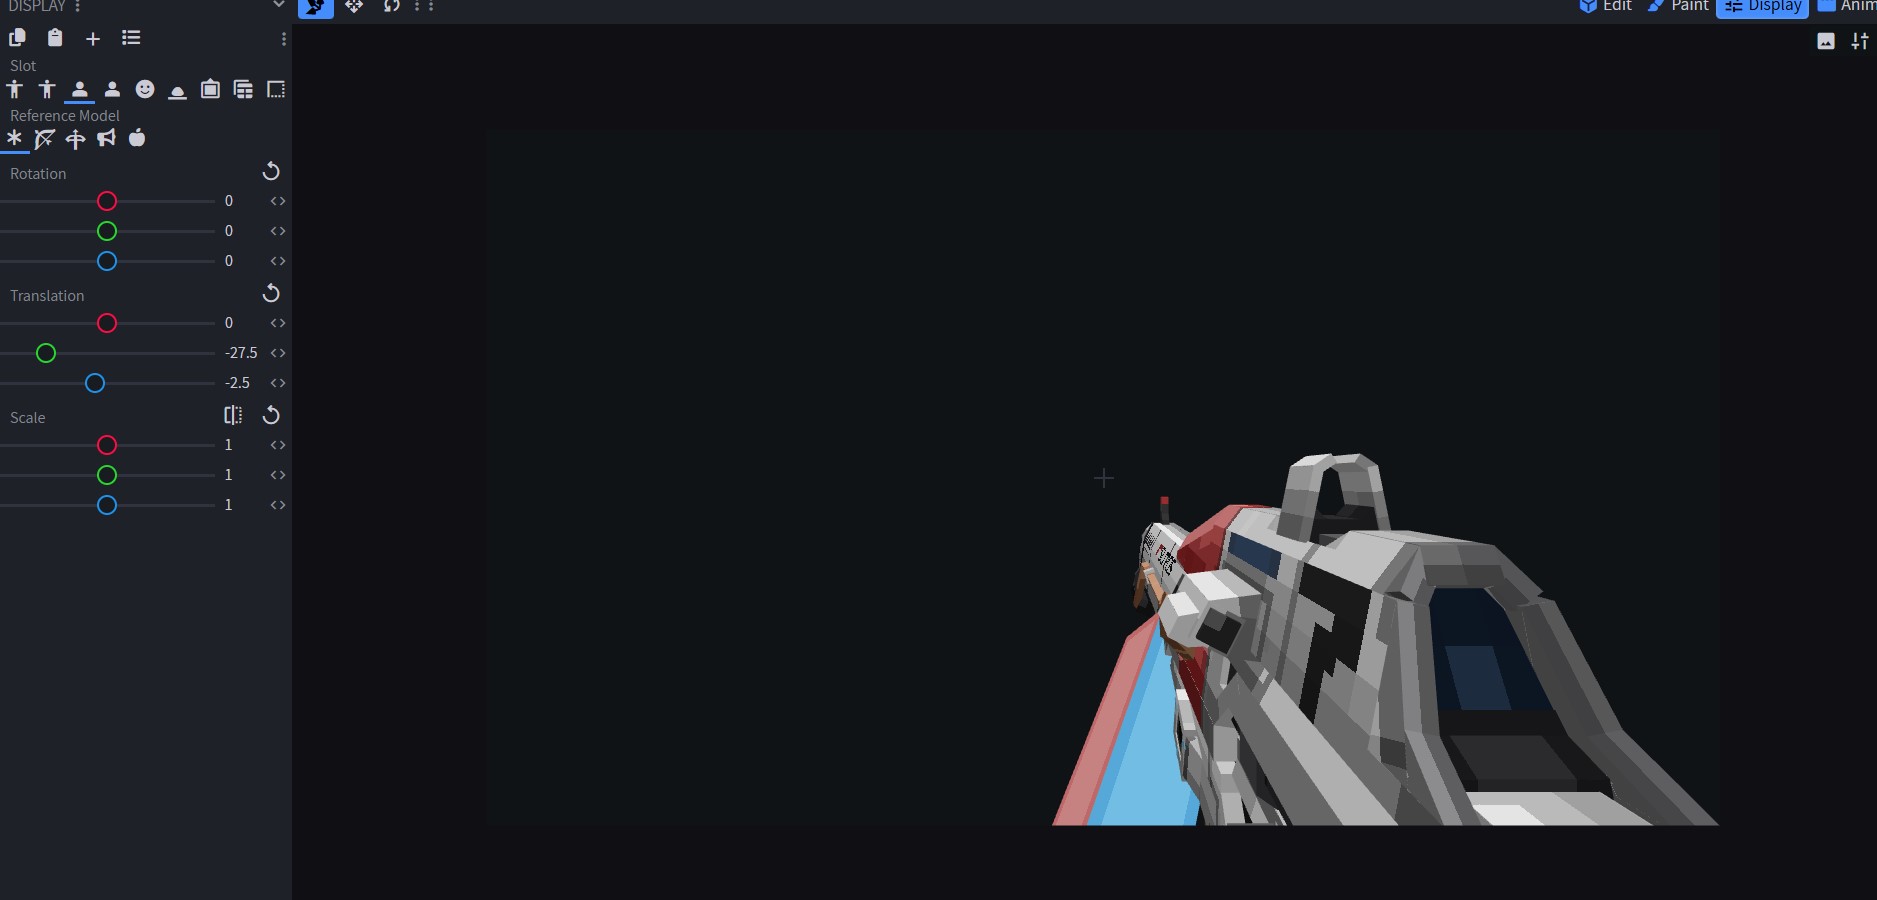
When configuring your first person display settings, the one thing to be mindful of is model scale. Never change it to be bigger or smaller. It must always stay at 1. This ensures you don’t run into bugs while playing with the gun.
For third person, dropped-on-ground, etc. you may change the scale safely.
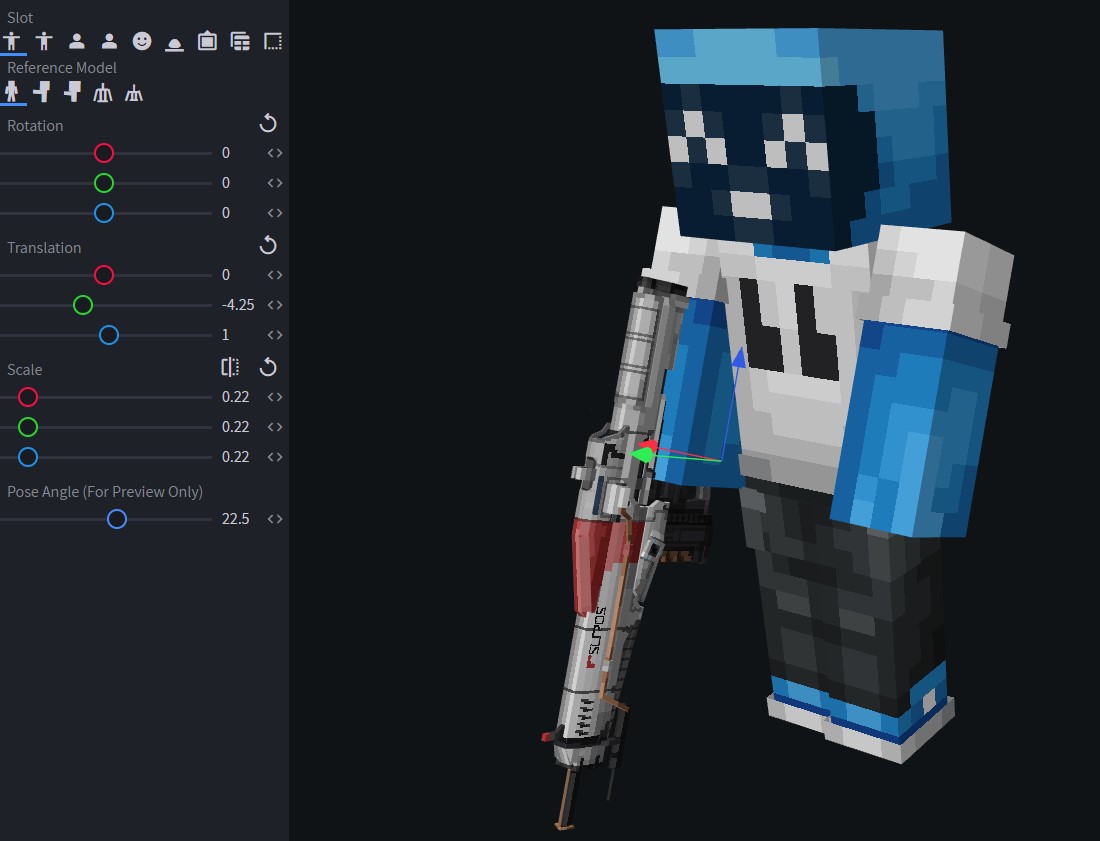
Scaling Arms: Pro Tip
Sometimes, the arm models seem too small. And they’re hard to work with since we can’t scale their sizes.
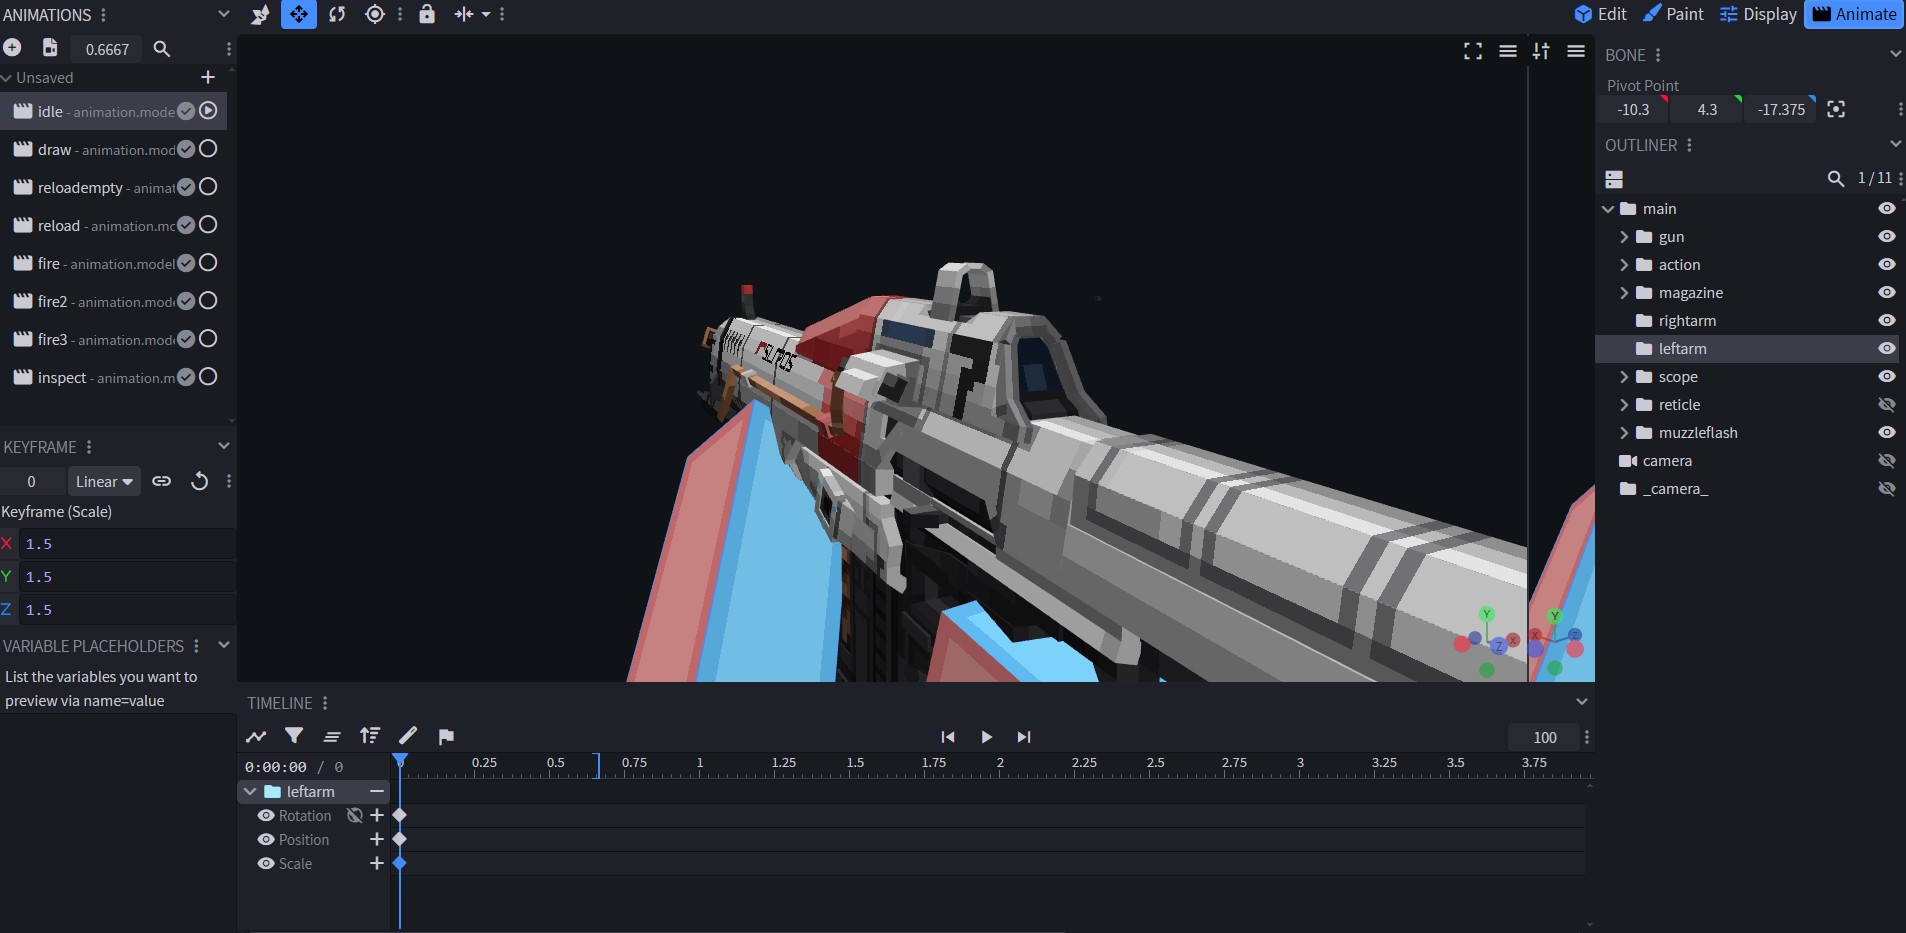
However, when animating, we can still change their scale. This requires cleverly using idle and other animations. If you want to make the arms bigger, this is how to do it. The same approach appears in official content packs like the Blue Archive pack.