Creating Animated Effects
To create any visual effect, you need two things: a texture png and a json file that defines the effect.
The texture png should go in assets/pointblank/textures/effect. Since we’re creating an animated texture, the png is actually a fully-fledged sprite sheet. There are all kinds of ways to create animated effects with sprite sheets, for example with Adobe After Effects. Some examples:
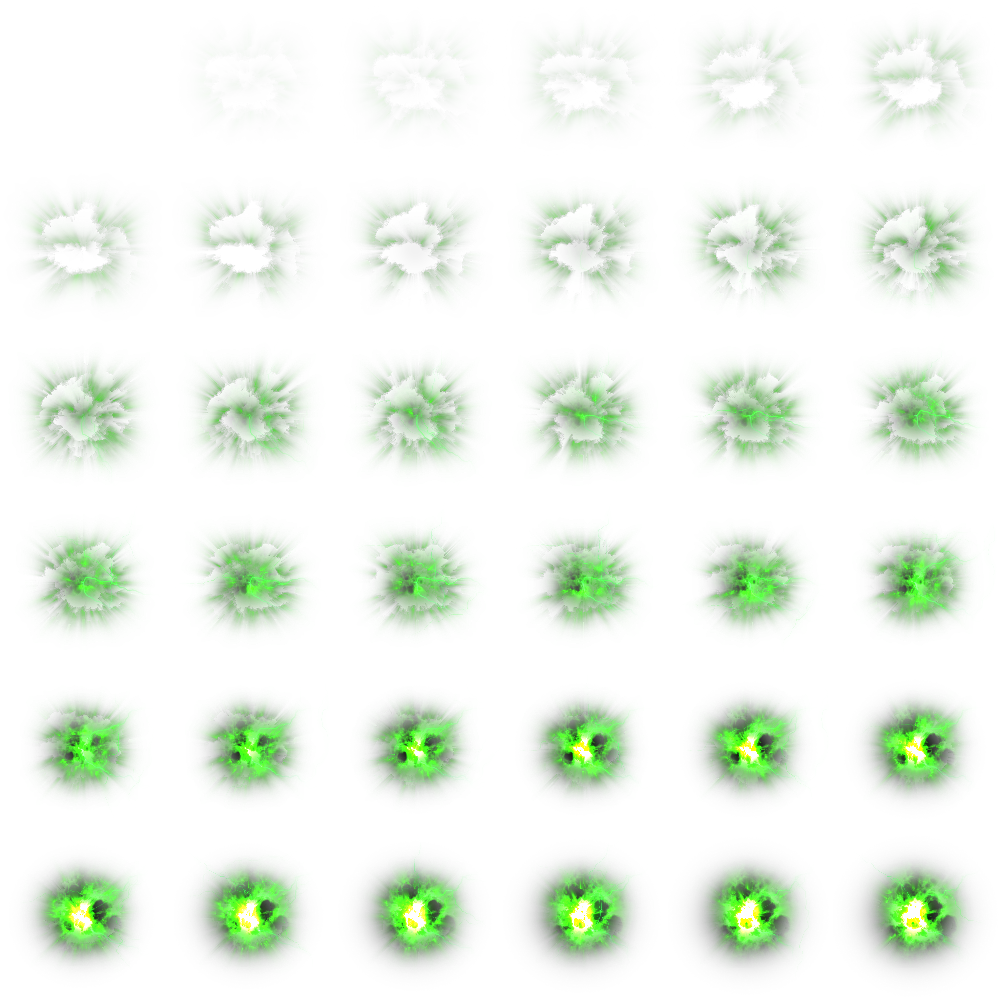
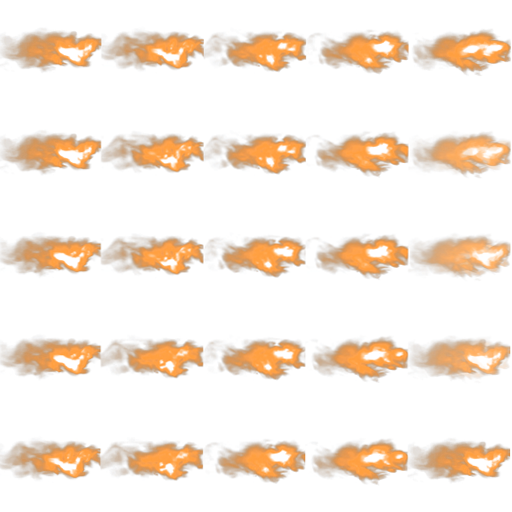
You can use animated textures for glowing parts, muzzle flashes, charging effects, plasma balls, custom explosions, and custom impact effects.
The json file for the visual effect goes in assets/pointblank/effects. It should be named whatever the name of your effect will be. Same name convention as your guns, so something like ‘packname_effectname’.
Inside the effect json, we’ll write code for the animated effect. It looks like this:
{
	"type": "impact",
	"name": "doom_bfg_explosion",
	"texture": "textures/effect/doom_bfg_explosion.png",
	"blendMode": "ADDITIVE",
	"duration" : 1350,
	"sprites": {
		"type": "play_once",
		"rows": 9,
		"columns": 9,
		"fps": 60
	},
	"width": 12.0,
	"glow": true,
	"depthTest": true
}
You’ll recognize most of the code from the other two effect tutorials.
The parts to pay attention to in particular are type, duration, sprites, and width.
In this example, the "type" is "impact"—meaning the effect plays when the gun’s shot impacts a surface or mob. The other type is "attached_projectile" and "detached_projectile". We’ll cover these types later.
"duration" here is set to 1350 milliseconds, which corresponds to how long the effect should last. Since I’m playing the sprites at 60 fps, and I have 9x9 (81) sprites, this means the effect should be set to 1350 milliseconds (81/60 = 1.35).
"sprites" here is the same code as seen for muzzle flash, but some different settings. Since this is an animation, the type is set to "play_once" and we have 9 rows, and 9 columns. It plays at 60 fps.
"width" defines how large the effect is. For this particular effect, the explosion size is big, so the size of the effect should also be big.
"glow" makes the effect glow, which you’ll want enabled.
"depthTest" is set to true to make sure the effect plays properly when generally viewed. Always set this to true.
This example is for an explosion effect. Impact effects work the same. Example:
{
	"type": "impact",
	"name": "doom_plasma_hit",
	"texture": "textures/effect/doom_plasma_impact.png",
	"blendMode": "ADDITIVE",
	"duration" : 1000,
	"sprites": {
		"type": "play_once",
		"rows": 5,
		"columns": 5,
		"fps": 60
	},
	"glow": true,
	"depthTest": true
}
We can create other effects, like a projectile ball or muzzle flash.
Projectile ball example:
{
	"type": "detached_projectile",
	"name": "doom_plasma_ball",
	"texture": "textures/effect/doom_plasma_ball.png",
	"blendMode": "ADDITIVE",
	"duration" : 800,
	"sprites": {
		"type": "loop",
		"rows": 5,
		"columns": 5,
		"fps": 60
	},
	"face": {
		"minU": 0,
		"maxU": 1
	},
	"width": {
		"type": "linear",
		"startValue": 1.5,
		"endValue": 0.1
	},
	"alpha": {
		"type": "ease_in_ease_out_2",
		"startValue": 2.0,
		"endValue": 0.1
	},
	"initialSpeed": 300,
	"acceleration": 0,
	"numRotations": 0.3,
	"glow": true,
	"depthTest": true
}
A detached projectile means it’s an effect applied to a projectile that’s detatched from the gun, vs an effect that’s attached to the gun.
This distinction matters because animated effects, if they’re a charging effect, needs to be a ‘projectile.’ In this case, it should be attached to the gun, so it doesn’t float on its own.
In this example, we see some usual settings, and some new ones, which can be safely ignored (and shouldn’t be touched).
Attached projectile example:
{
	"type": "attached_projectile",
	"name": "hl_taucharge",
	"texture": "textures/effect/hl_taucharge.png",
	"blendMode": "ADDITIVE",
	"face": {
	  "width": 2,
	  "minU": 0,
	  "maxU": 1
	},
	"sprites": {
	  "type": "play_once",
	  "rows": 6,
	  "columns": 6,
	  "fps": 50
	},
	"duration" : 800,
	"brightness": 1,
	"glow": true,
	"depthTest": true
}
Since this is a charge effect, we want it to apply to the muzzle. Since it’s an animated effect, it needs to be type "attached_projectile".
Once you have an sprite png, and animated sprite json, you can start defining them in the gun json, as shown in Effects Overview. It’ll looks like this:
"effects": [
  	{
		"phase": "hit_scan_acquired",
		"name": "doom_plasma_ball"
  	},
  	{
		"phase": "hit_target",
		"name": "doom_plasma_hit"
  	}
  ]
If you’re working on an animated sprite that’s applied to a real flying projectile, and not hitscan, you actually don’t create a json file, and you create it directly in the projectile ammo item json. More on this in Rocket Launchers.